

All photo credits: Ulelli Verbeke
Last time I talked about yoga, I focused on pranayama (breathing), today I want to talk about the asanas translated as ‘poses’ or ‘postures,’ as one of many roads you may travel on your way to happiness.
I gave a pretty short, but detailed explanation of the facets of yoga in my first blog post on the topic, so I won’t repeat myself here.
In Hatha yoga, we tend to hold postures in a fairly prolonged and static way, in Vinyasa yoga or flow yoga, the postures are usually held for a shorter amount of time and we flow between them a bit more fluidly.
So how in the world can these poses make you happy?
First of all, I would like to reiterate, that ANYONE can practice yoga. The act of gently and safely attempting a posture can be as effective as successfully executing it, so while I discuss some of these particular postures, please don’t think, “I could never do THAT, so instead, I will do nothing.” That is not the way to look at this!
I have often quoted Sir Isaac Newton….using some creative liberty with the context…by stating that “A body in motion tends to stay in motion. A body at rest tends to stay at rest.” If one is depressed, sluggish, lethargic, sad and generally emotional unwell or just down, the natural response tends to be to hole oneself away. This can create a cycle of sadness. Getting out and making yourself do something, as hard as that may be, would have a positive effect on your mood. Once you are in the habit of practicing yoga, you won’t want to go without it. I love it when students come back to me after being away and say, “I missed this! It feels so good to be back.”
Yoga is gaining ground in the West and globally. This year in June, we commemorated the very first UN International Day of Yoga. Even the most skeptical critics of yoga and proponents of modern medicine have to admit that yoga has benefits. Doctors in the US are prescribing yoga for health more and more. The national institute of health reported that, “In a study of 50 women, regular practice of yoga benefited mood and physiological response to stress.”
More and more psychologists are turning to yoga as a part of treatment. Psychologist Today quoting Yoga Journal reports: “Yoga is being increasingly recognized as a useful tool for relieving symptoms of clinical depression. While doctors will often prescribe pharmaceuticals or recommend psychotherapy for patients, yoga can accomplish even deeper goals. Use yoga for depression by helping your students quiet their restless minds and connect them with an inner source of calm and joy.”
This 2007 study found that yoga helped clinically depressed people to improve when practiced in conjunction with their treatment. Those who practiced yoga saw greater benefits when compared to those who only used the modern medicines. This study, reported that “Many persons with clinical anxiety or depression turn to nonpharmacologic and non-conventional interventions, including exercise, meditation, tai chi, qigong, and yoga. There is increasing scientific interest in the potential effectiveness of these interventions for the treatment of anxiety and depression, especially for mild to moderate levels of disorder severity.”
Personally, yoga helped me tremendously. I was very sad as a result of a devastating break-up from someone who was emotionally abusive. I felt rejected, useless, depressed and hopeless. I was also living in London, and the lack of sunshine had a detrimental effect on my mood. I was seeking happiness desperately. I had practiced Pilates for many years, and I was a runner, but I had only dabbled in yoga. I began to seek out the spiritual and meditative side of it, and coupled with my physical exercise and my determination to be happy, I achieved a much better state of emotional well-being. Now, a few years later, and with a regular yoga practice (and as a teacher of yoga), I find that I am able to maintain a positive outlook much more easily. I look younger, my skin looks better and I feel fantastic compared to three years ago. This is not due ONLY to yoga, but my practice is the one thing that is dramatically different from other times in my life.
While any dyhana, pranayama and asana practice, will help you to be happy, some specific asanas are particularly good. The poses that increase your circulation will make you feel energized. Postures that require you to focus and use strength and postures that put you in an inverted position, as well as vinyaysa, will be the best to help you achieve happiness!
To help you on your quest, try these asanas as a part of your daily routine. More frequently is almost always better, but consistency is key with yoga. It is not a magic bullet. One session may not leave you skipping and singing. Like anything else, it is something that you must commit to and work at, but the immediate effects will hopefully be enough to keep you encouraged.
If you have never practiced yoga, please seek out a trained professional. All yoga teachers are not created equal, and all students do not seek the same thing, so shop around. While yoga is safe for anyone, it is easy to perform the asanas incorrectly, which can lead to pain or injury, so make sure you have an instructor who teaches you safely, corrects you and cues you well, so that you can learn to practice on your own. I give some basic guidance here. Practice the poses below often to lead to a healthier happier you!
Most of the asanas I will highlight here can be done by beginners. My goal with this post is to encourage ANYONE to try, not to impress you with difficult postures!
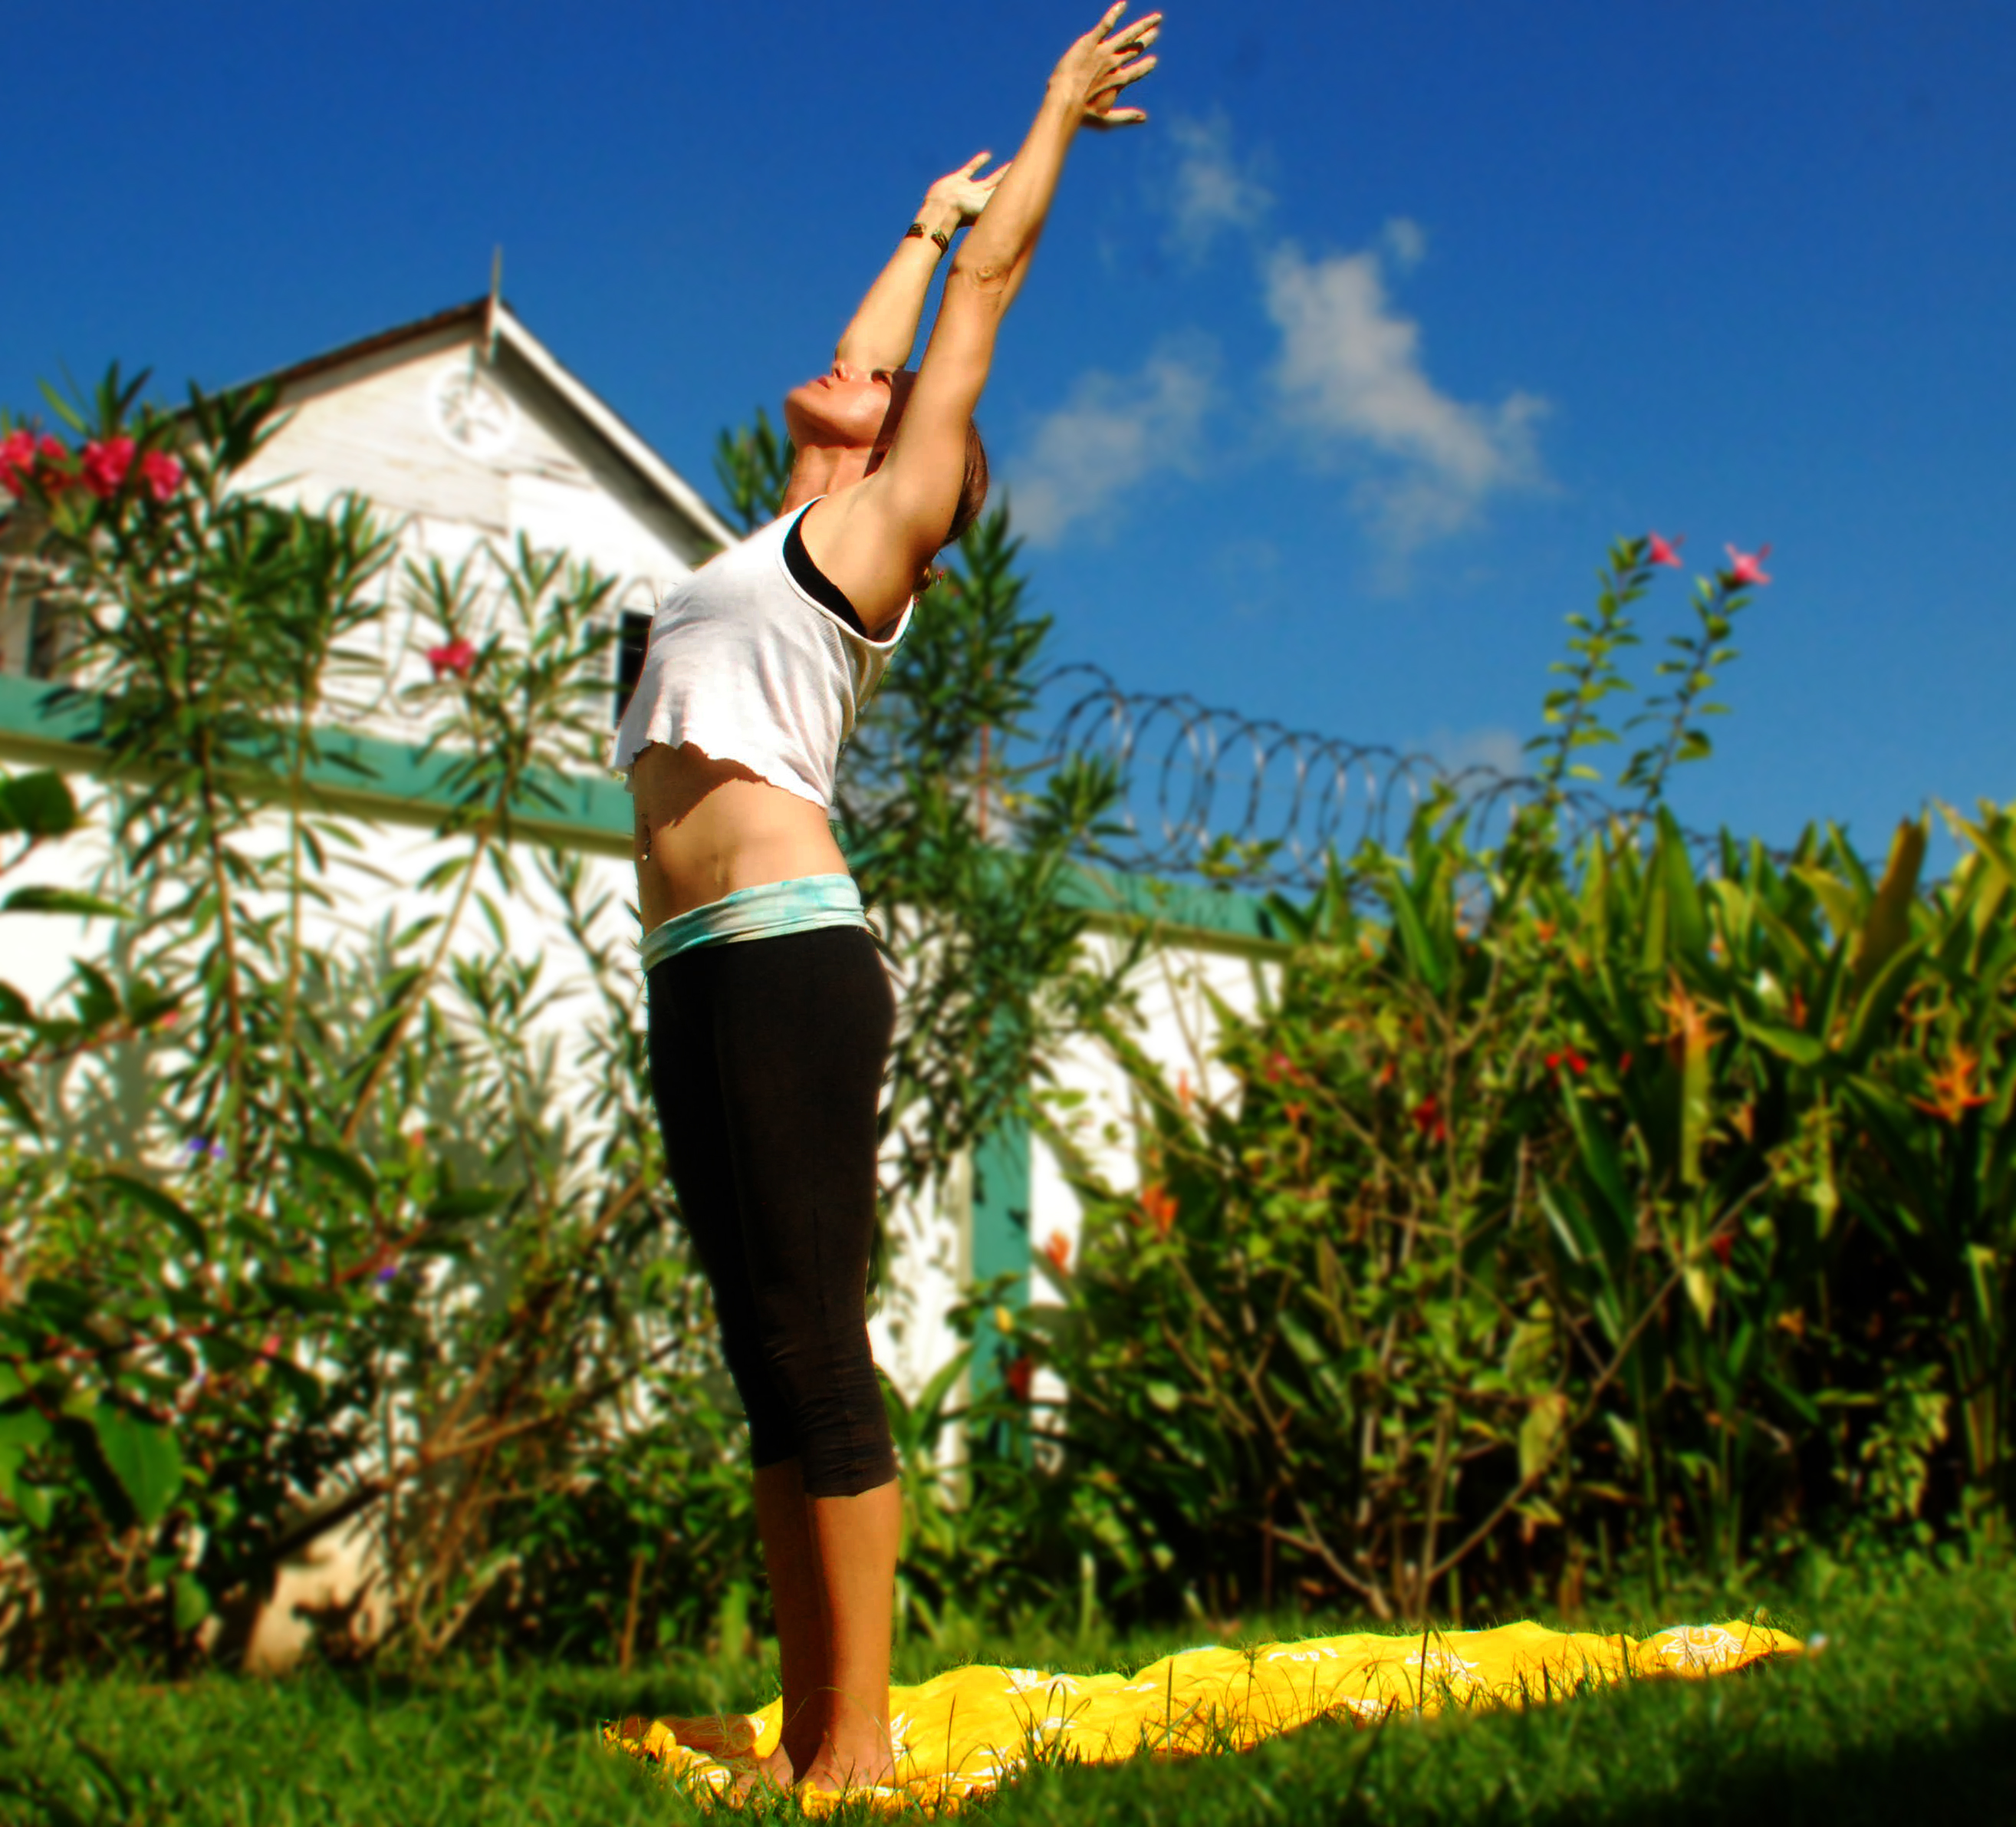
English name: Up-stretched arm posture
Sanskrit name: Urdhva Hastottanansana

Benefits: Although this pose has you on two feet, stretching up high on your tiptoes challenges your balances and works your ankle stabilizers. It strengthens the muscles of the legs and gives you an excellent head-to-toe stretch. (A variation of this is to clasp your hands together pressing your palms upwards)
Instructions: Stand firmly on the ground, feet parallel and hip distance apart. Engage your abdomen and your upper leg and gluteal muscles. Inhale as you stretch up reaching for the ceiling or sky and hold your breath as you balance on tiptoes for a few seconds, and then exhale as you lower your arms and your feet back down to the floor. Repeat 3 times. I use this throughout my practice in between other postures.
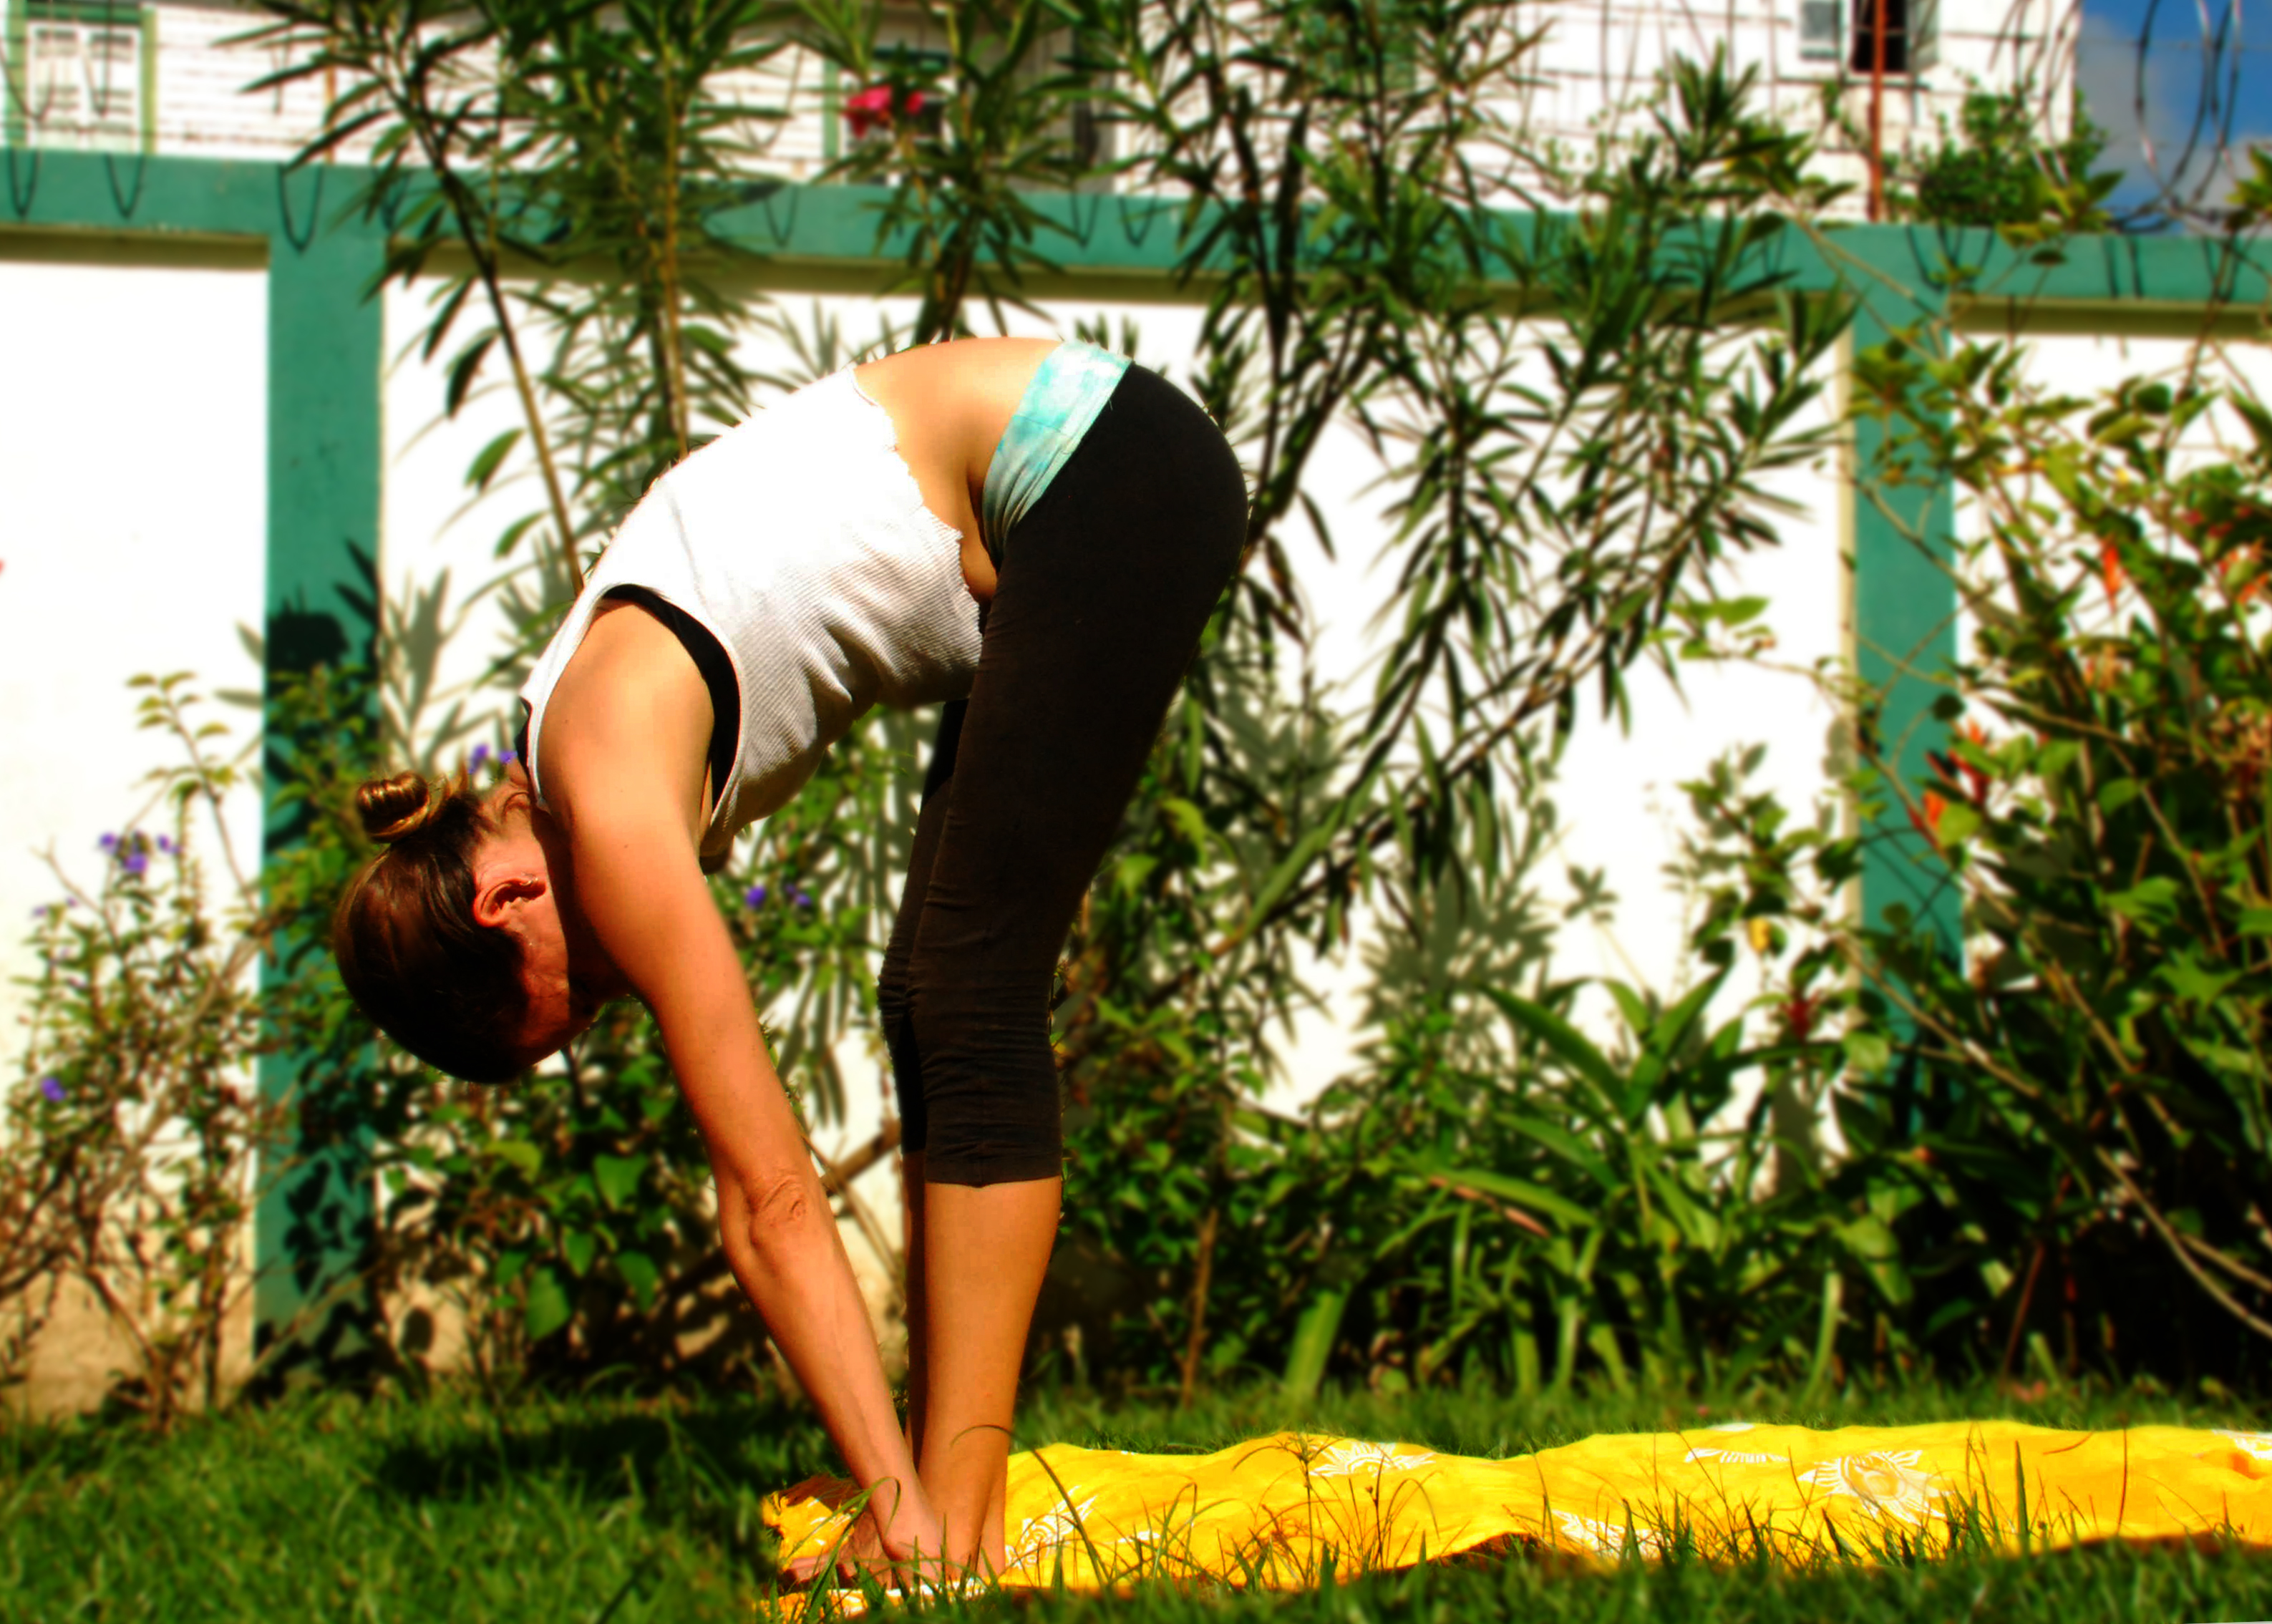
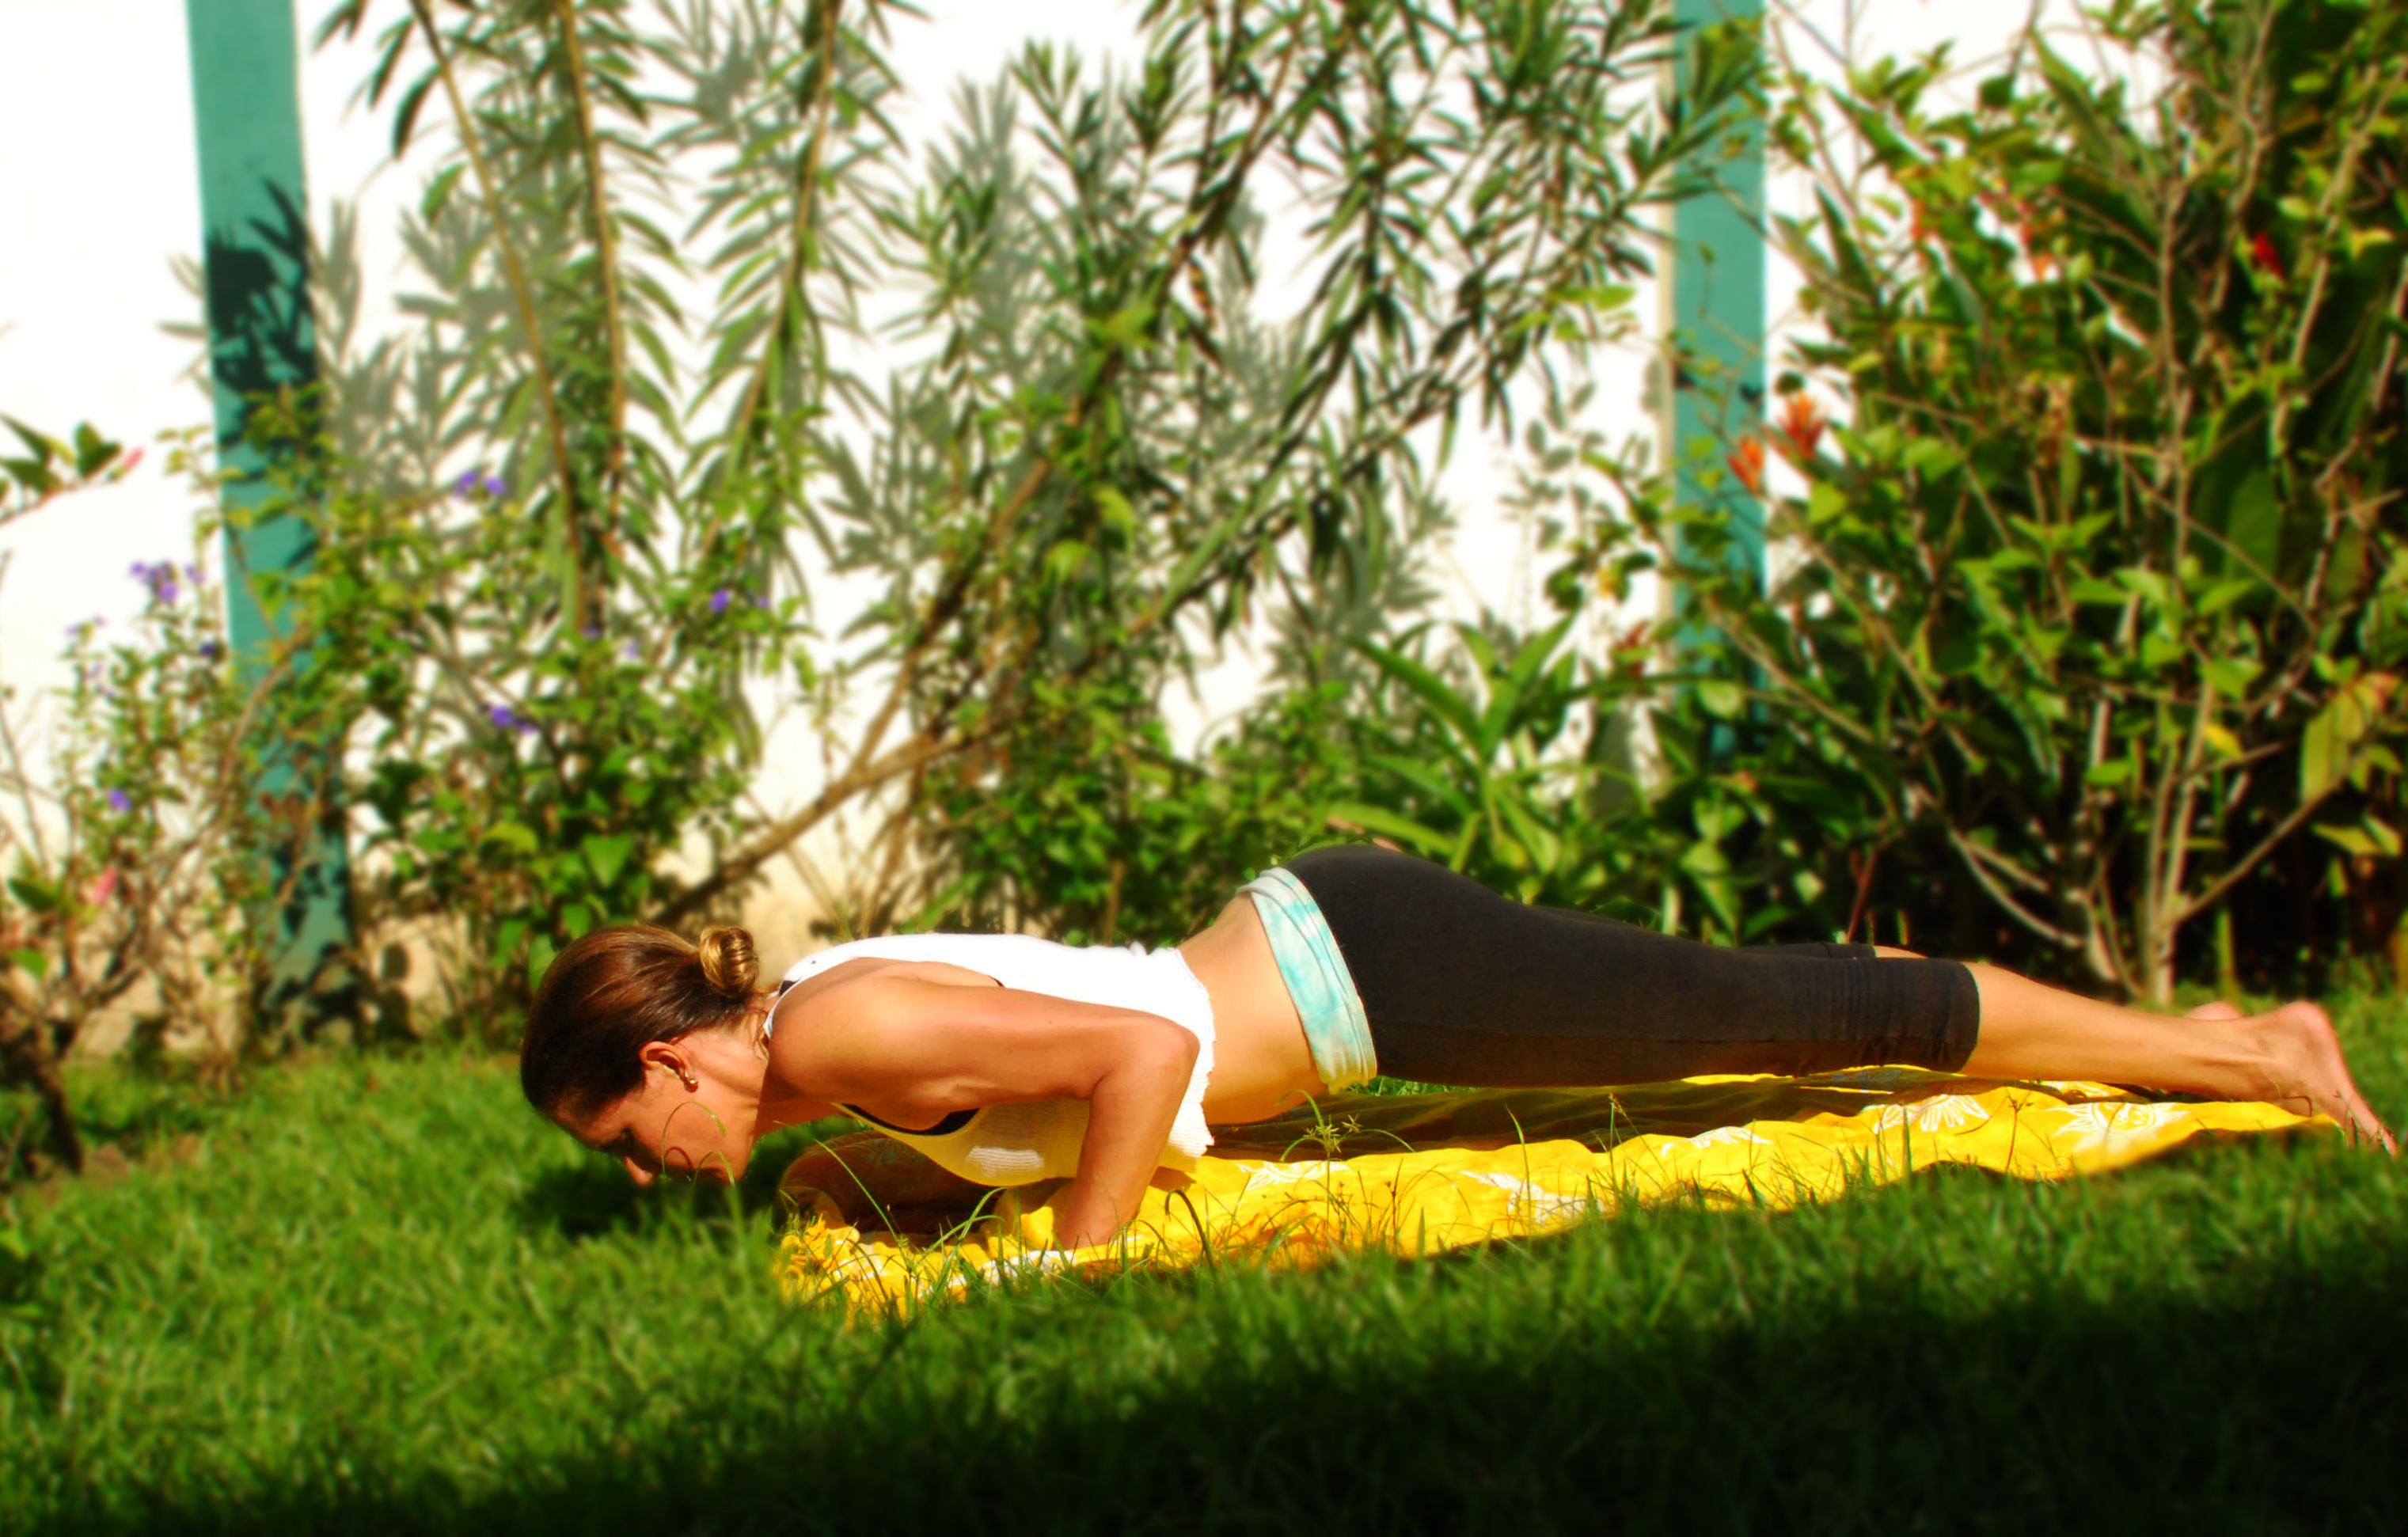
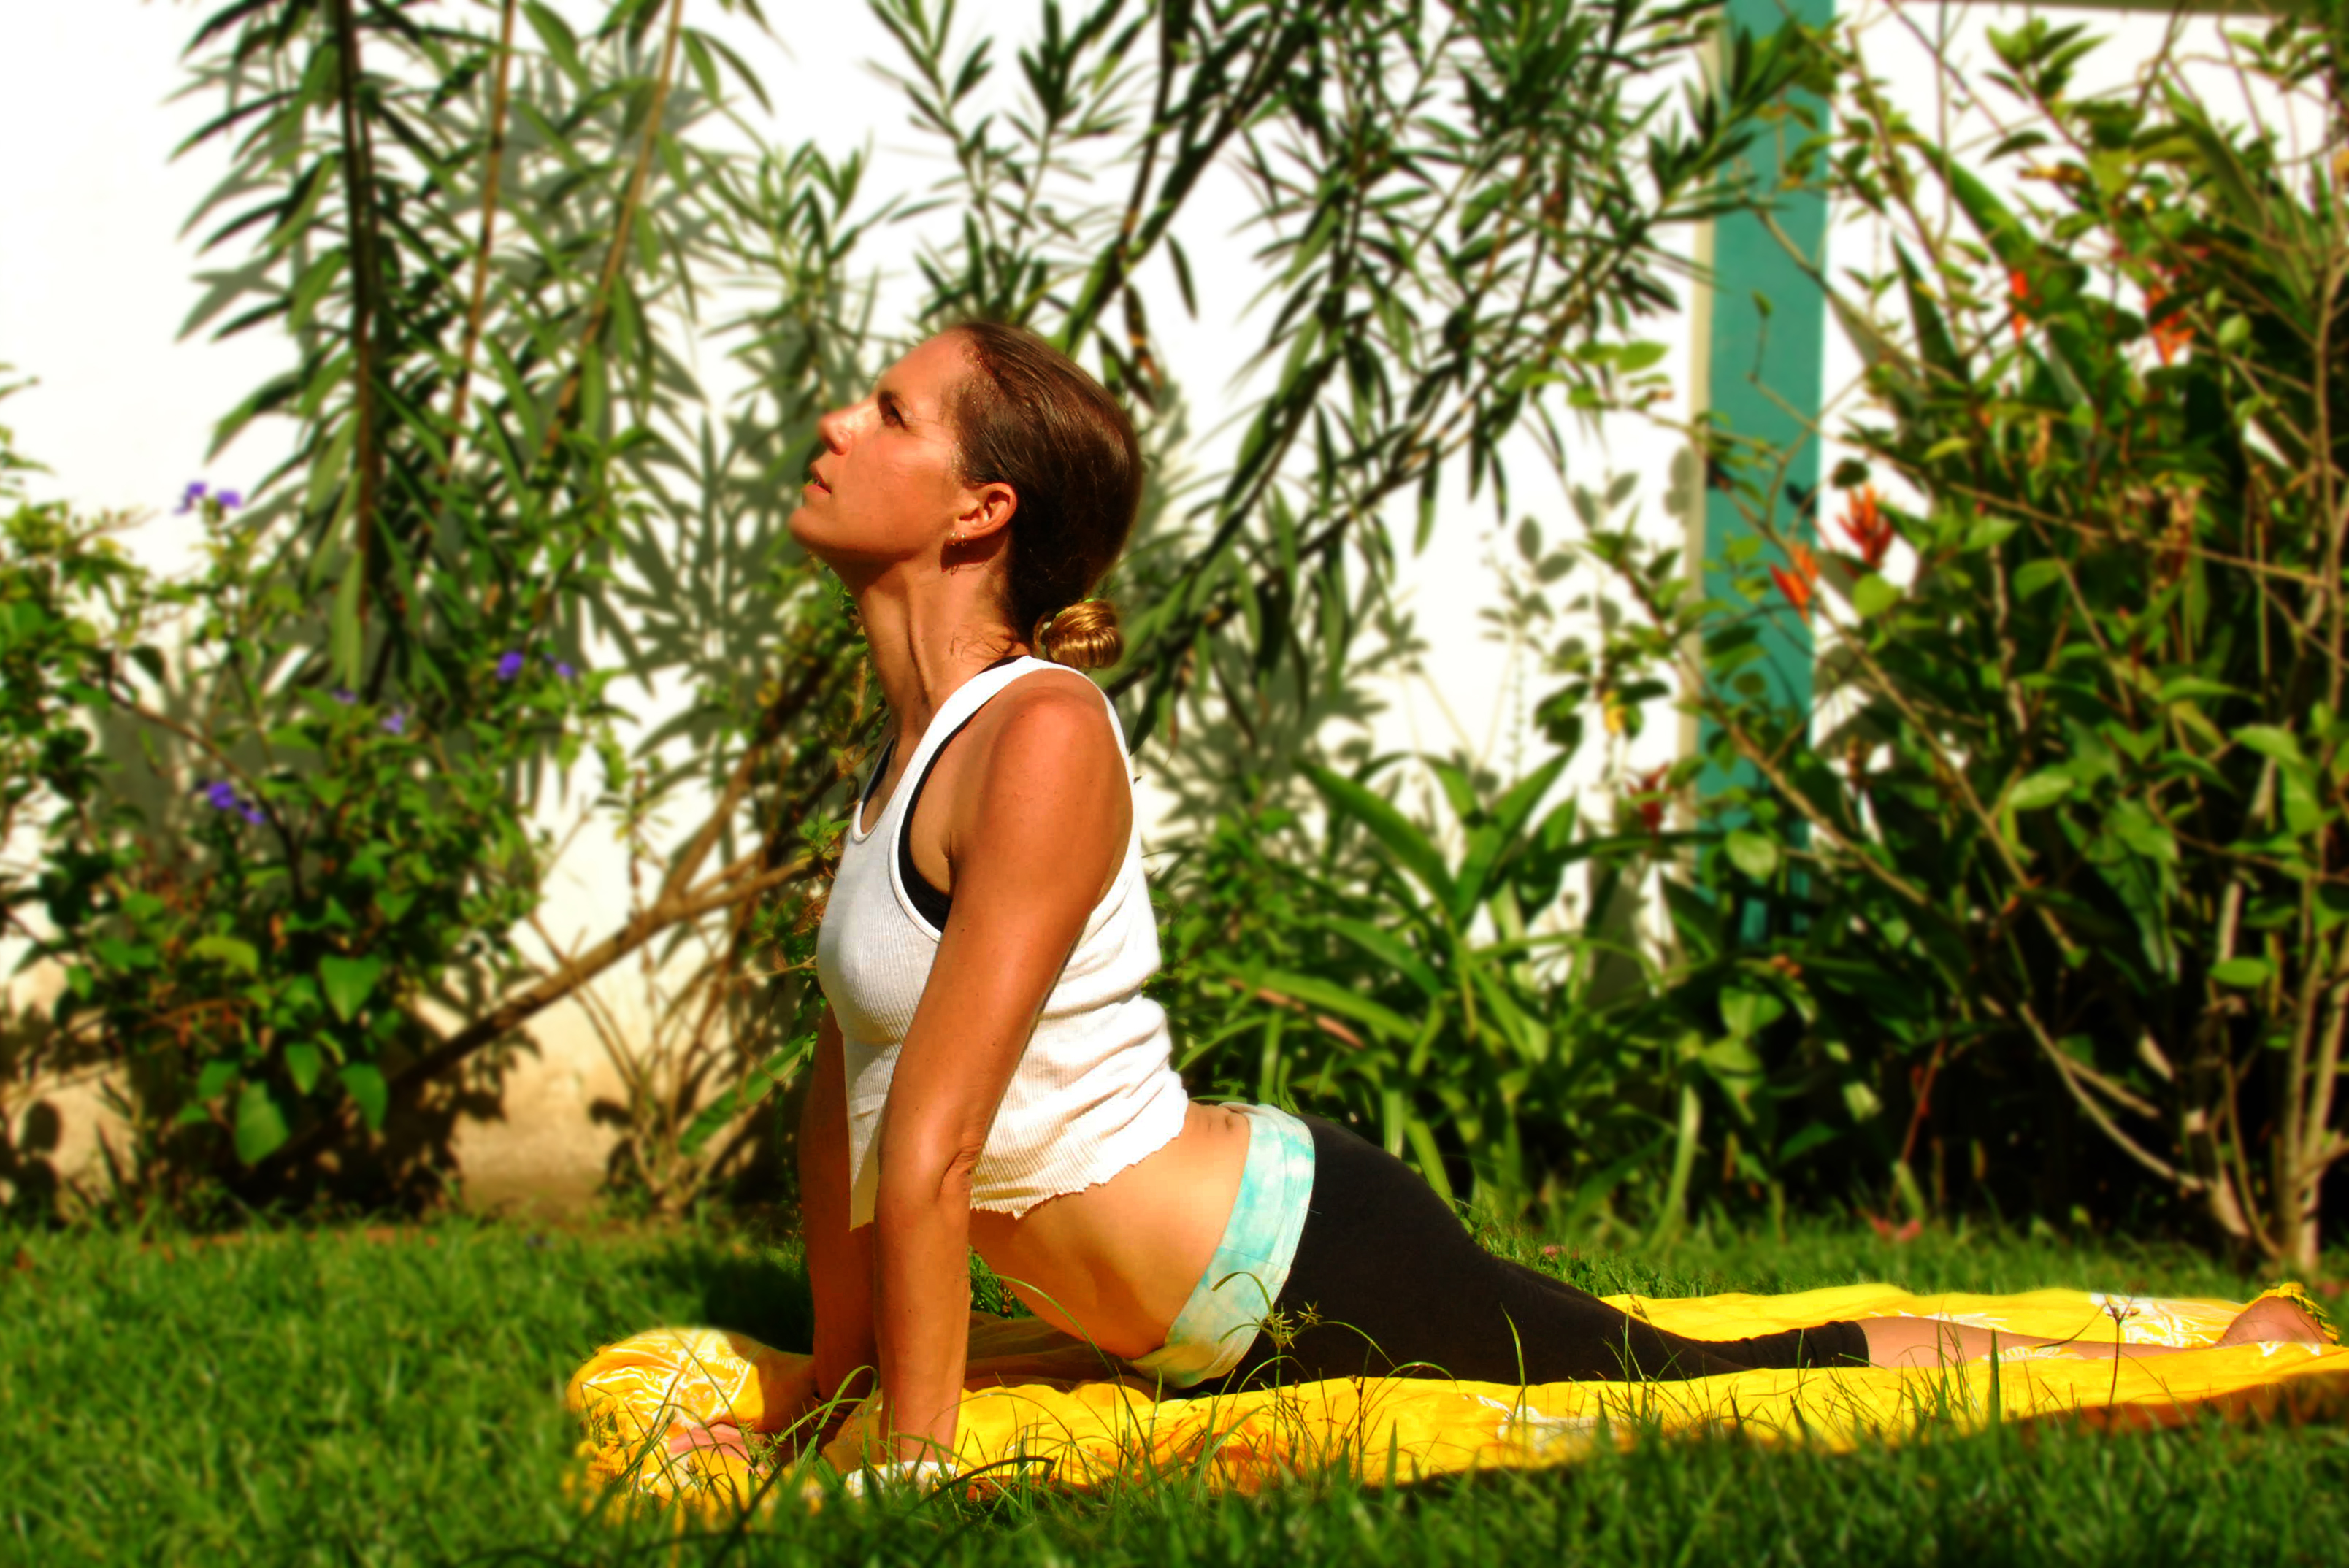
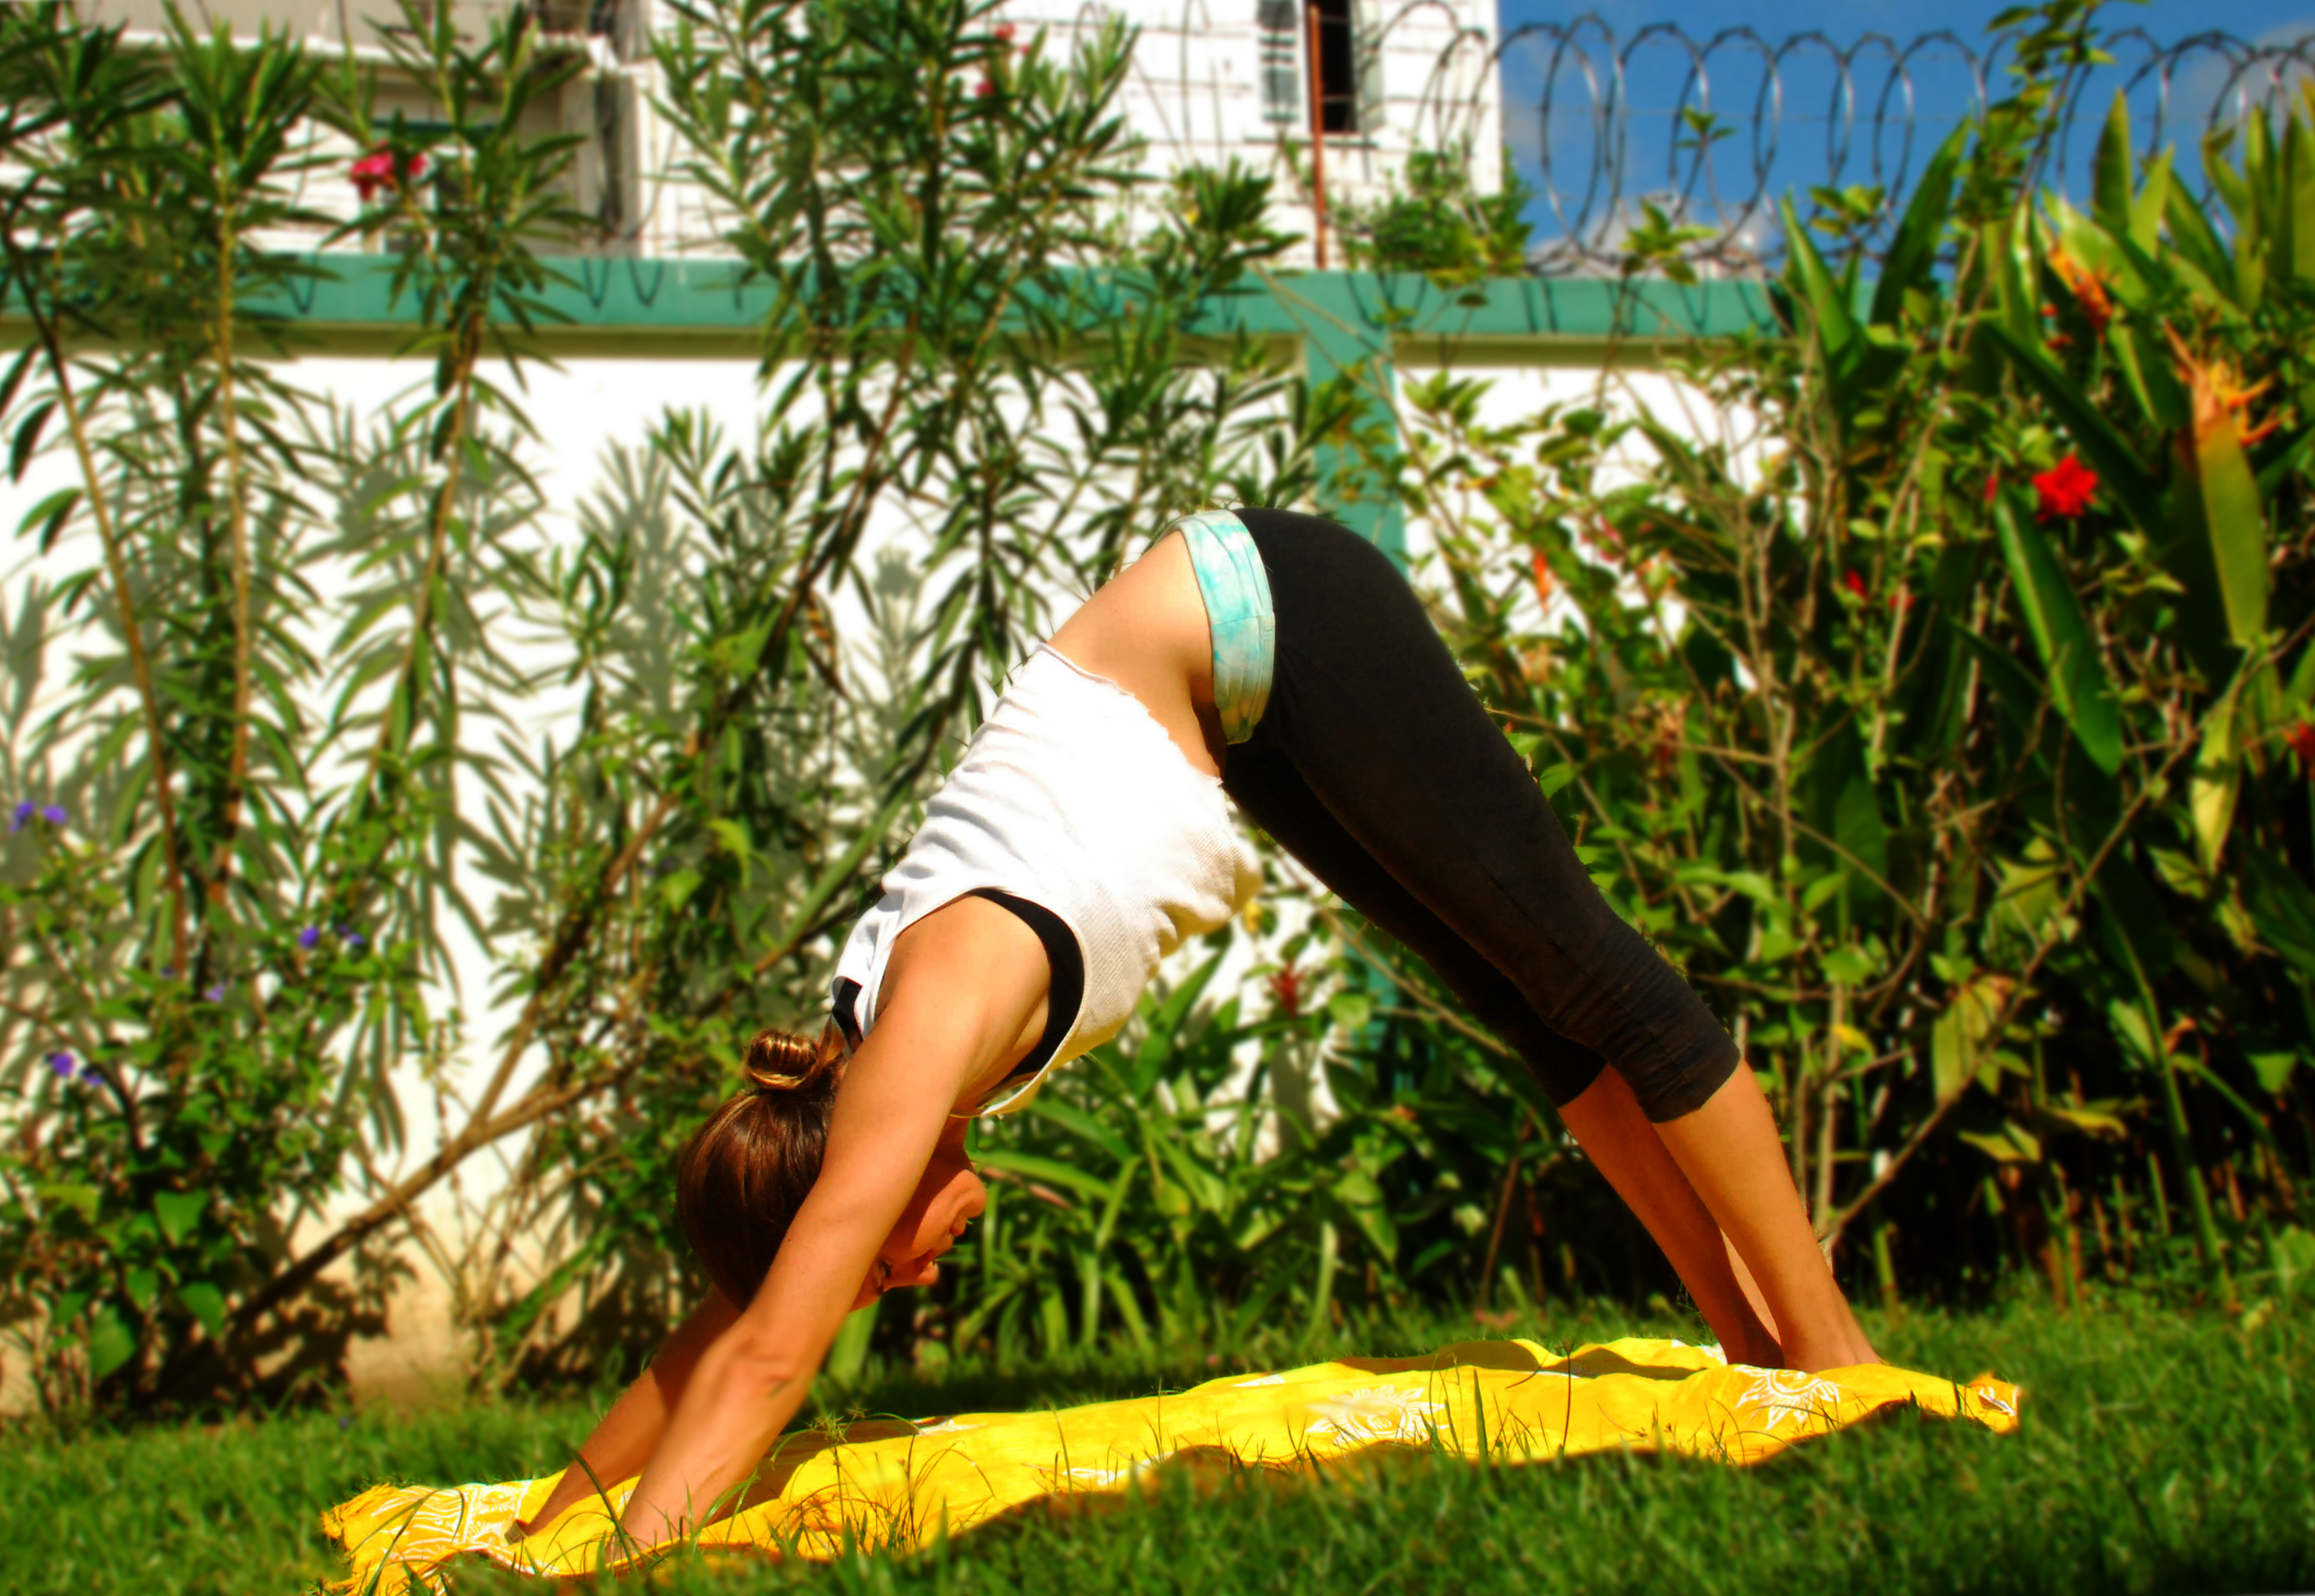
English name: Sun Salutation
Sanskrit name: Surya Namaskar
Benefits: I would argue that if you do NOTHING else, you learn sun salutation and make it a part of your life. I don’t know of another exercise that is so simple to learn, and relatively easy to do that strengthens and stretches more muscles, while improving circulation and energizing you, which yes, makes you feel happy! This is one of those examples where even if you aren’t perfect at it, trying is enough, and you will get better with every cycle you practice. Listen to your instructor, use a mirror if you can and listen to your body. You will get it! Your heart rate will accelerate and you will feel invigorated. This is a wonderful practice on its own first thing in the morning, as a warm up before a run or other such work out or as a part of a yoga practice. It is uplifting and mood boosting!
Instructions: Sun Salutations, as the name implies, are meant to be done at sunrise, but don’t let the time of day be an excuse for not doing them. You should perform a few repetitions of the series…I recommend six, but I once read a text that suggested 300 a day! The breath is an integral part of the series, so it is important to practice the breath and the postures.

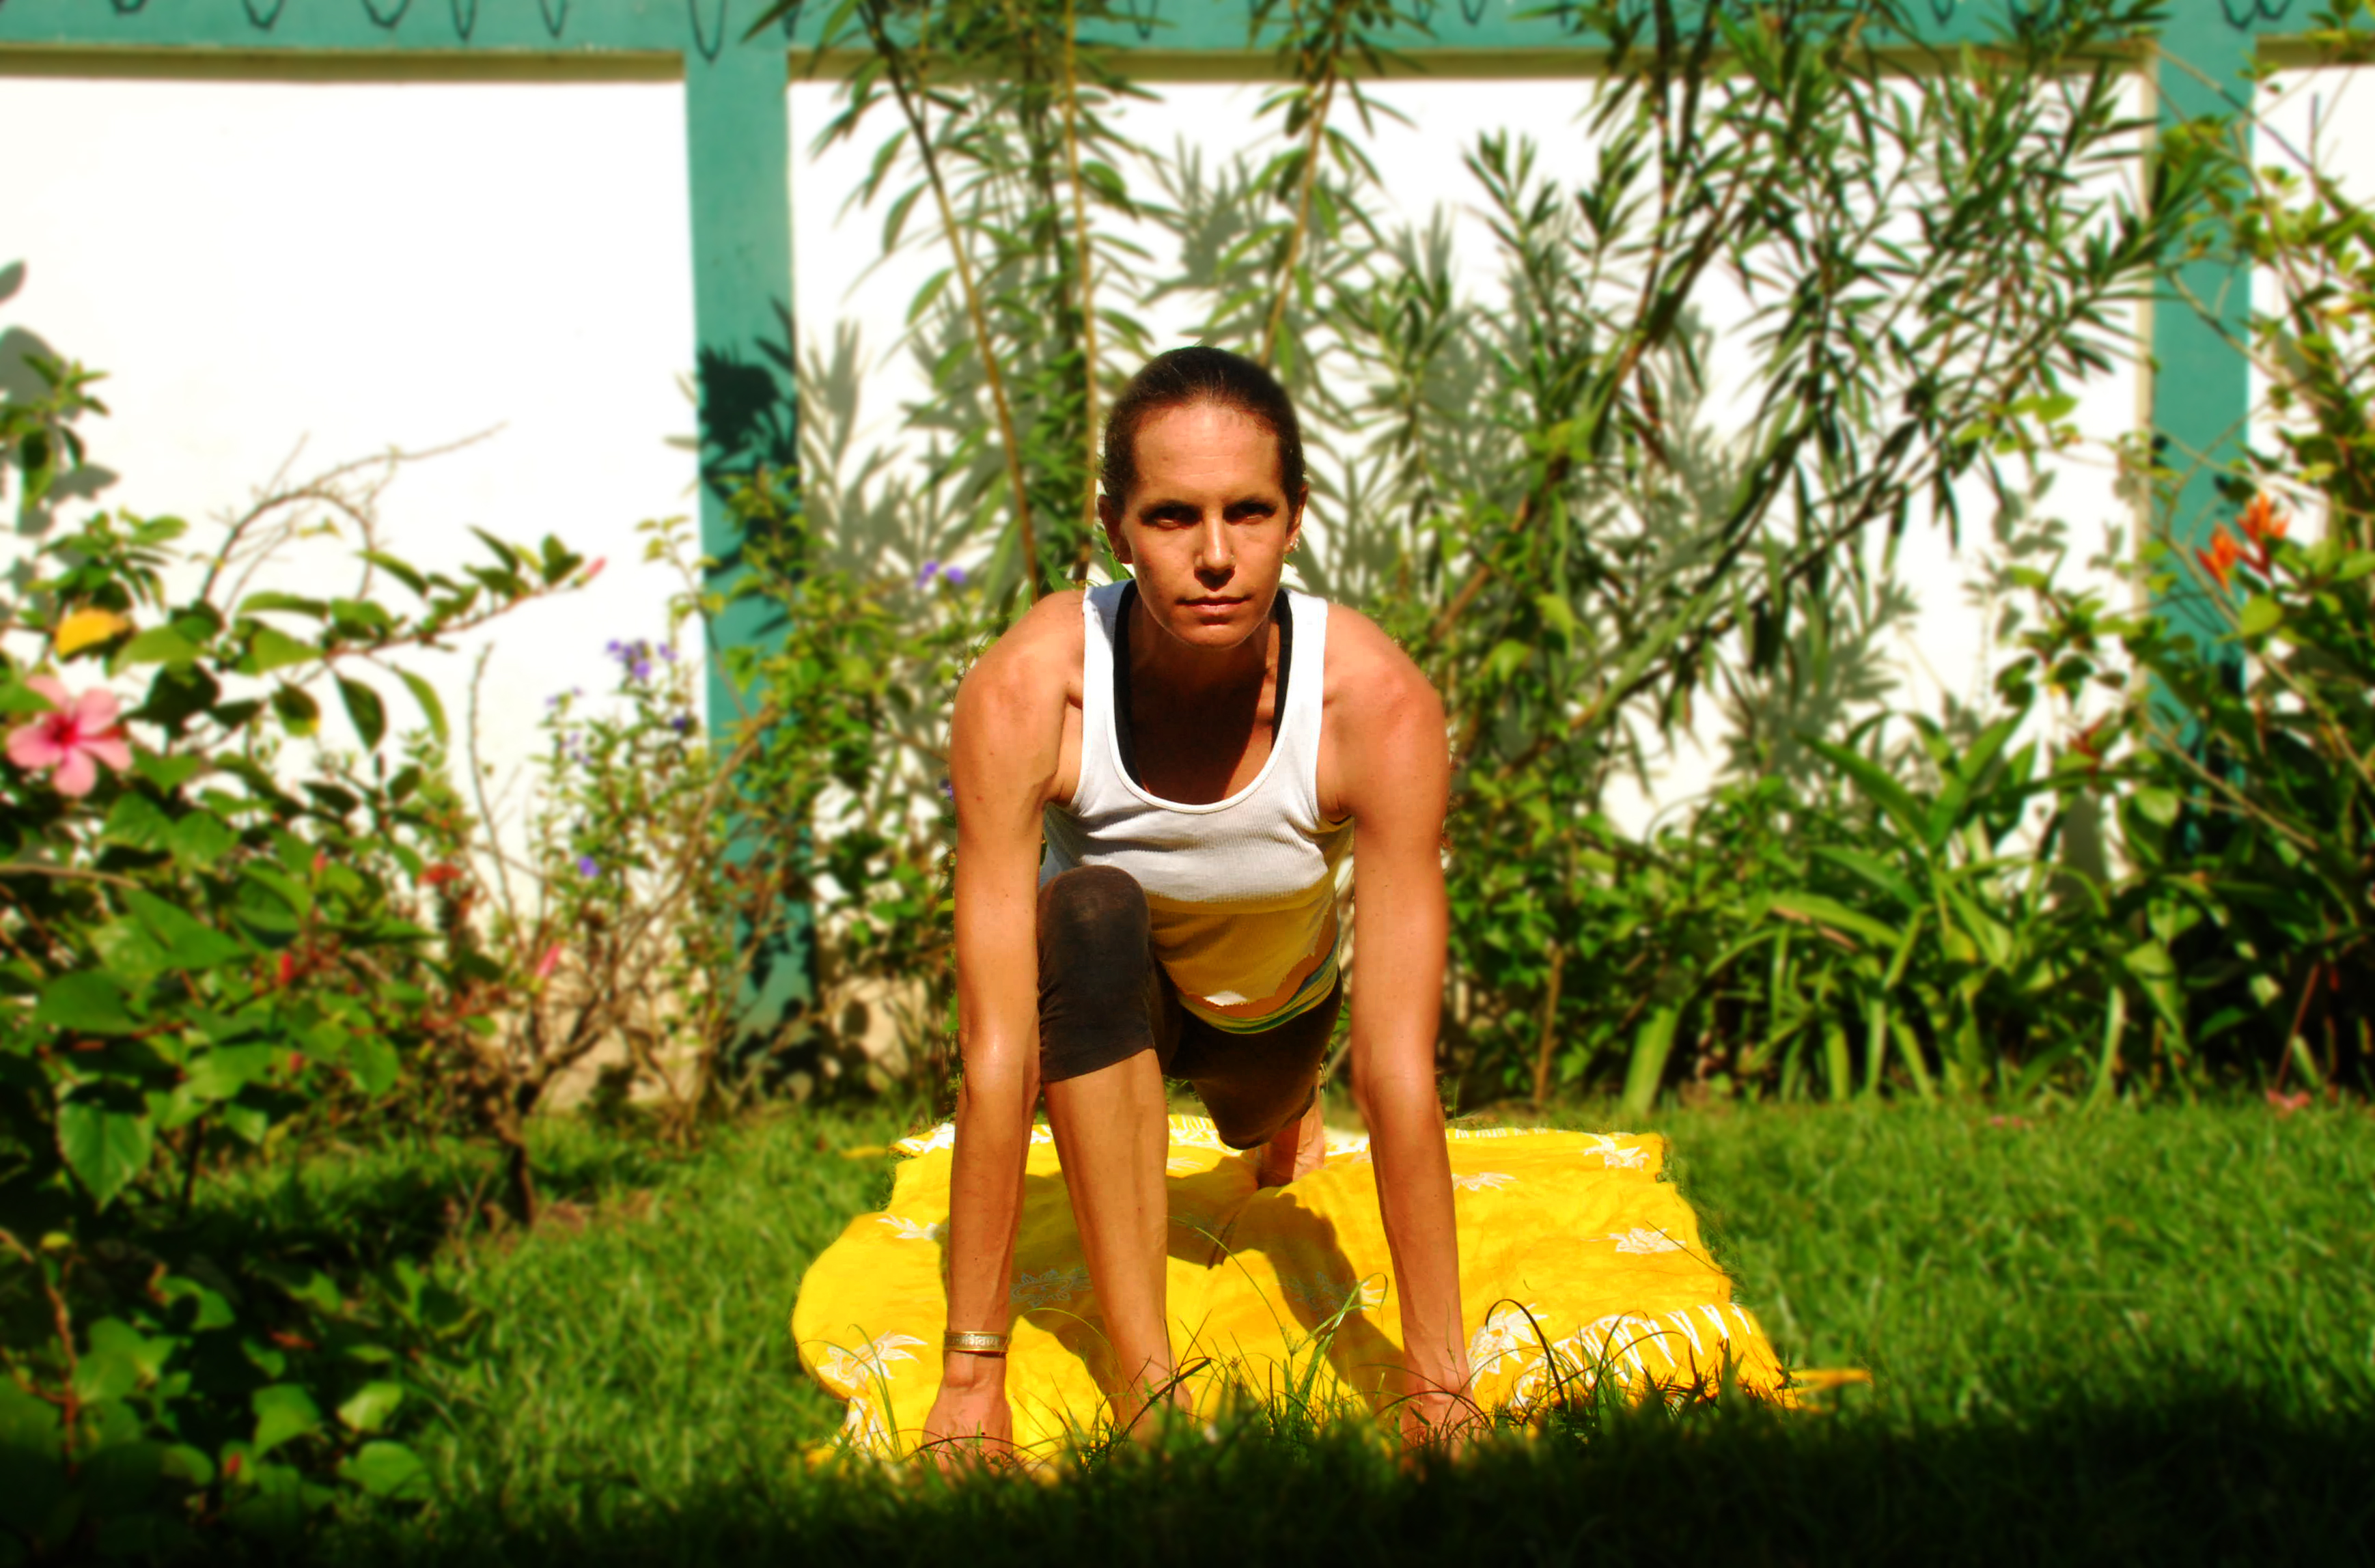
Virabhadrasana (Warrior Pose)
There are three warrior poses….aptly called 1, 2 and 3. The Sanskrit names of the poses and their mythology is fascinating. If you are interested, here is more about the origin of the Virabhadra series.
All three of the poses strengthen and increase the flexibility of the ankles, knees and hips. They all tone the legs hips, chest, back, shoulders, back and neck. Due to the balancing nature, focus and concentration are improved. James Hewitt in his Complete Book Yoga Book says about the warrior poses, “The concomitant psychological tone is one of heroic strength and compact power.” Today, we will look at the first two.
English Name: Warrior Pose I
Sanskrit name: Virabhadrasana
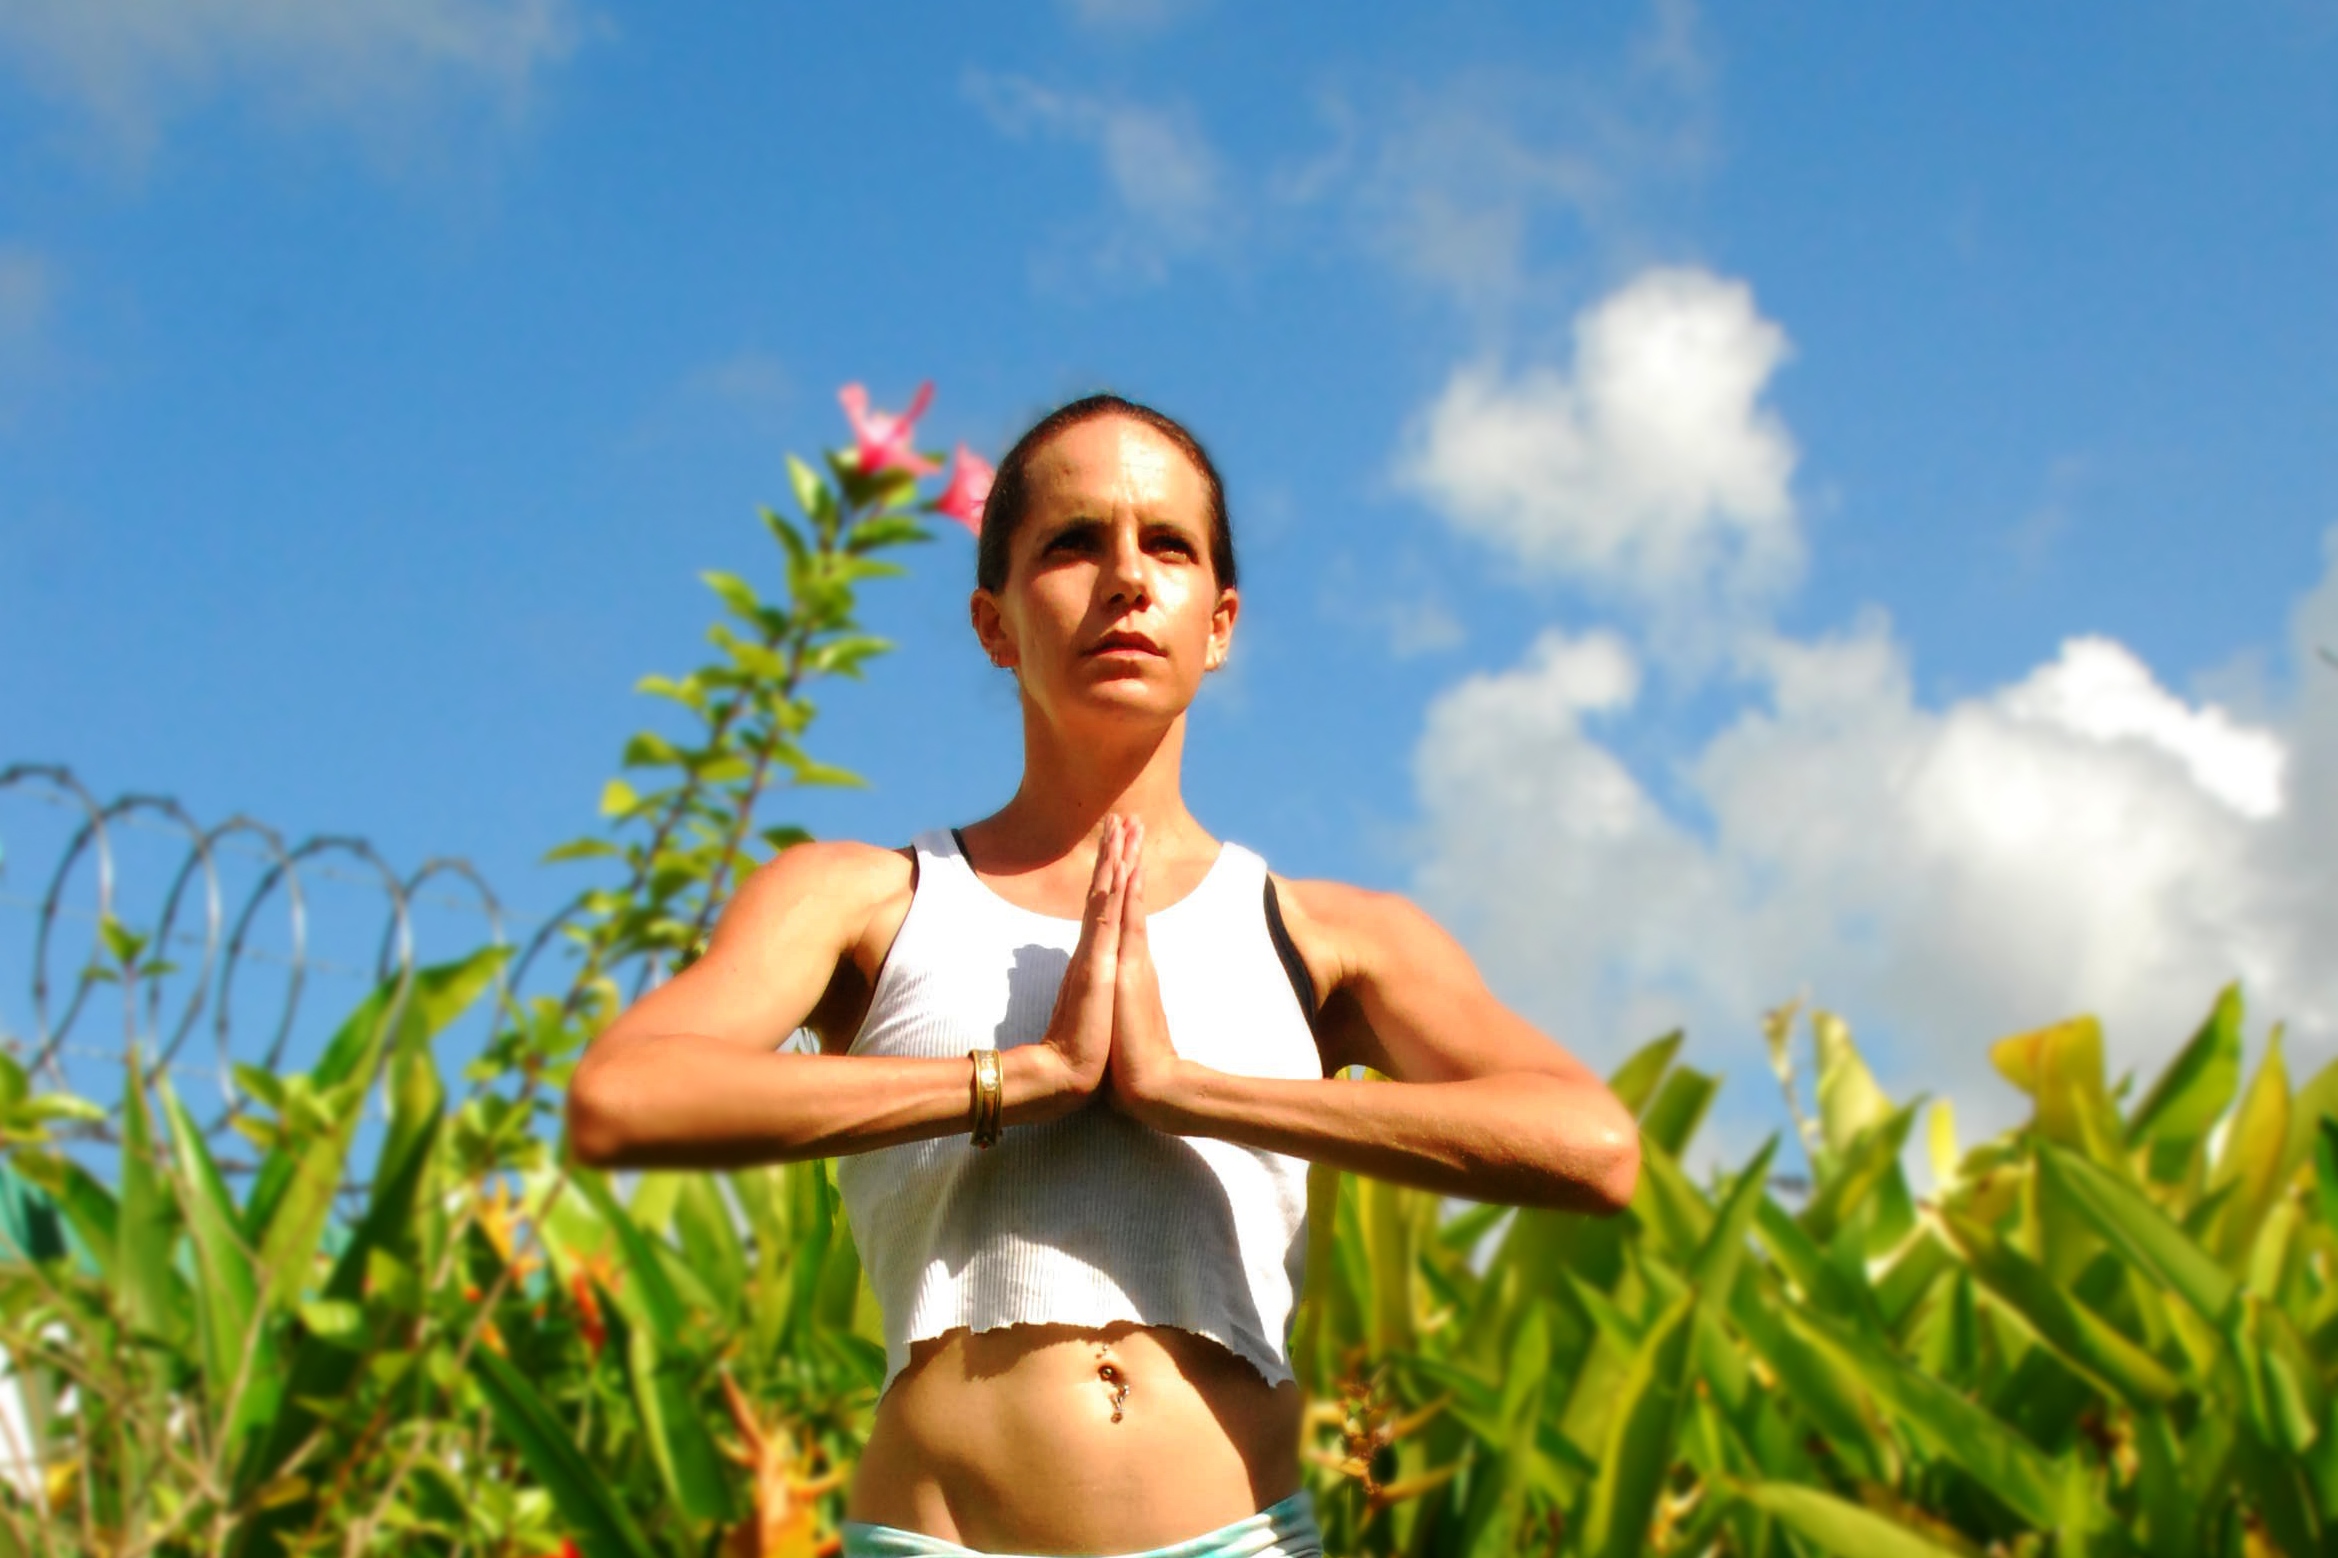
 Benefits: This opens up the chest stretching and strengthening the lungs, which allows for deep inhalation and that (as I talked about in the breathing blog), can help you feel happy. In the full posture, you are looking upwards, this has a psychological effect of feeling hopeful and positive.
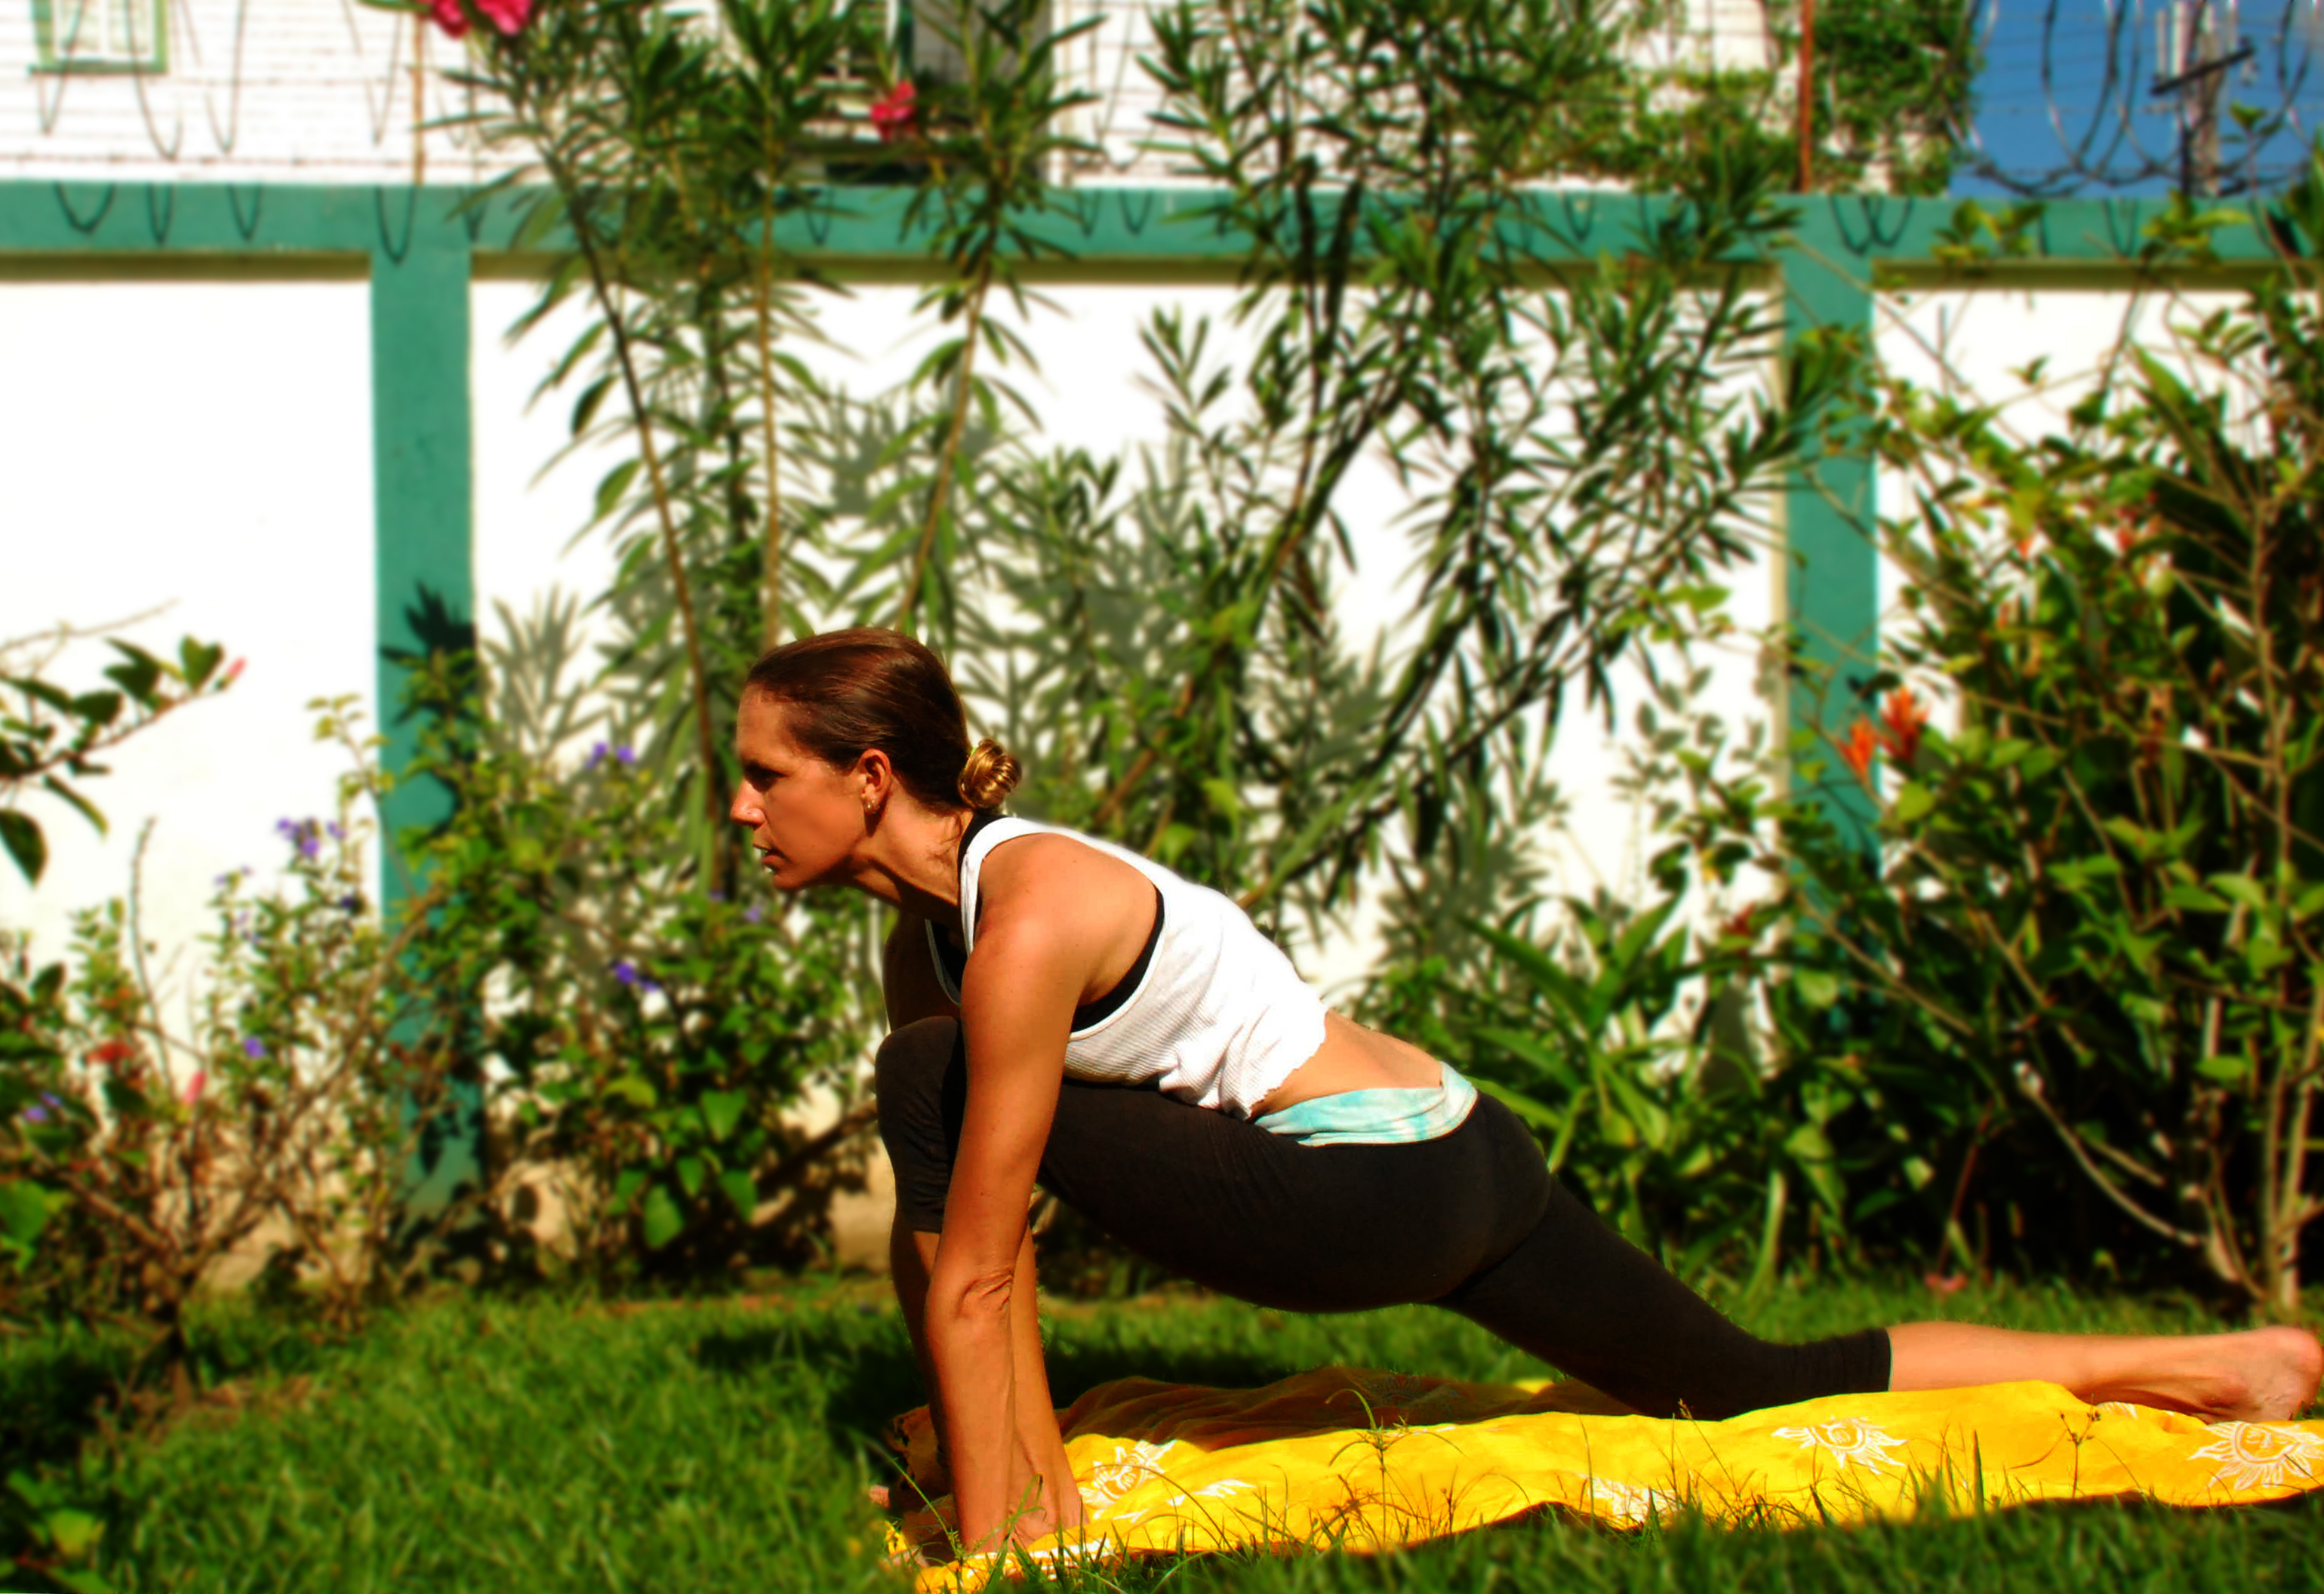
Instructions: You can step backward or forward into this pose, or integrate it in your sun salutation. Check that your front knee is not bent out over your toes, so you can see your toes. Your chest is up, so you are not hinging forward at the waist. The back foot may be pointed forward (modification), as I demonstrate or planted and at an angle. Your hips must face forward, so if you can plant your foot at a 45 degree angle and still face forward, fine. If not, modify it, so your hips do face forward. This may be done with your hands in prayer, arms up-stretched or in the full pose, looking up and arching slightly back. Build up to it! Hold for 30 seconds, taking long deep breaths. You may simply step your back foot forward to come out, or bring your hands down to the floor and complete the second half of the sun salutation.
English Name: Warrior Pose II
Sanskrit name: Virabhadrasana
 Benefits: Warrior II is probably my single favorite yoga posture. I love looking at a class full of students in Warrior II. They look so strong, so beautiful, so graceful and so determined. If I am teaching in a space with mirrors, I encourage them to admire this. While yoga is NOT about ego, there is something powerful about seeing yourself in Warrior II and this can lead to confidence boosting and that can help improve your state of mind. Warrior II challenges the arms, back and shoulders more than Warrior I.
Instructions: You may transition from Warrior I into II or do it on its own. Feet are perpendicular to one another. Front knee is again, over the ankle, not leaning forward. Hips, chest and shoulders are square, with only the head turning to look over the shoulder. Arms are parallel to the ground. Hold for 30 seconds.
I am showing a moderate bend in the knee in both poses, which is acceptable, but you can work towards a 90 degree angle the more advanced you become. The warriors may be done on their own, or as I and many Vinyasa teachers do, integrated into Surya Namaskar.
Warrior III is a balancing posture,but it is a more challenging one, and I want to offer you a more simple balancing pose to try.
English Name: Tree posture
Sanskrit name: Vrksasana


Benefits:What most people don’t realize is that the balancing postures are much less about physical ability, and much more about mental ability. While certainly, it is more physically challenging to stand on one leg than two, with focus and with breathing, one can learn to balance more quickly than one can learn a feat of pure strength.
Instructions: I always tell my students that we must be balanced on two feet before we can balance on one, so begin by stabilizing yourself. You can your arm to the side or hold onto a chair or the wall until you become stable. Bring one foot up on your inner thigh. You can hold it there, if you prefer, but once it will stay and you are stable, try placing your hands in prayer or stretched up over your head. If you really want a challenge, close your eyes! Focus on a spot in front of you, breathe deeply and keep your abdominal and gluteal muscles tight to provide support. This pose can be practiced while standing at the stove, brushing your teeth, talking on the phone. Do it often!
The Inversions
*Note: Inversions must be practiced with caution or not at all for people with blood pressure disorders, recent eye surgery, spinal injuries and some sinus issues. Please seek advice of a professional.
Anytime we are upside down, meaning our legs are over our heads, we are potentially increasing our happiness. All of the inversions are fantastic for circulation. Think how hard your heart has to work 24/7 to pump oxygenated blood UP from your lungs to your heart and then UP to your brain!?!??! When you invert, you allow your heart and brain to get first dibs on your blood followed by your organs. (Happy bonus: since I have started doing inversions regularly, I notice my face is less wrinkled, plumper, fresher and the varicose veins on my ankles are looking less prominent.)
English name: Plough
Sanskrit name: Halasana
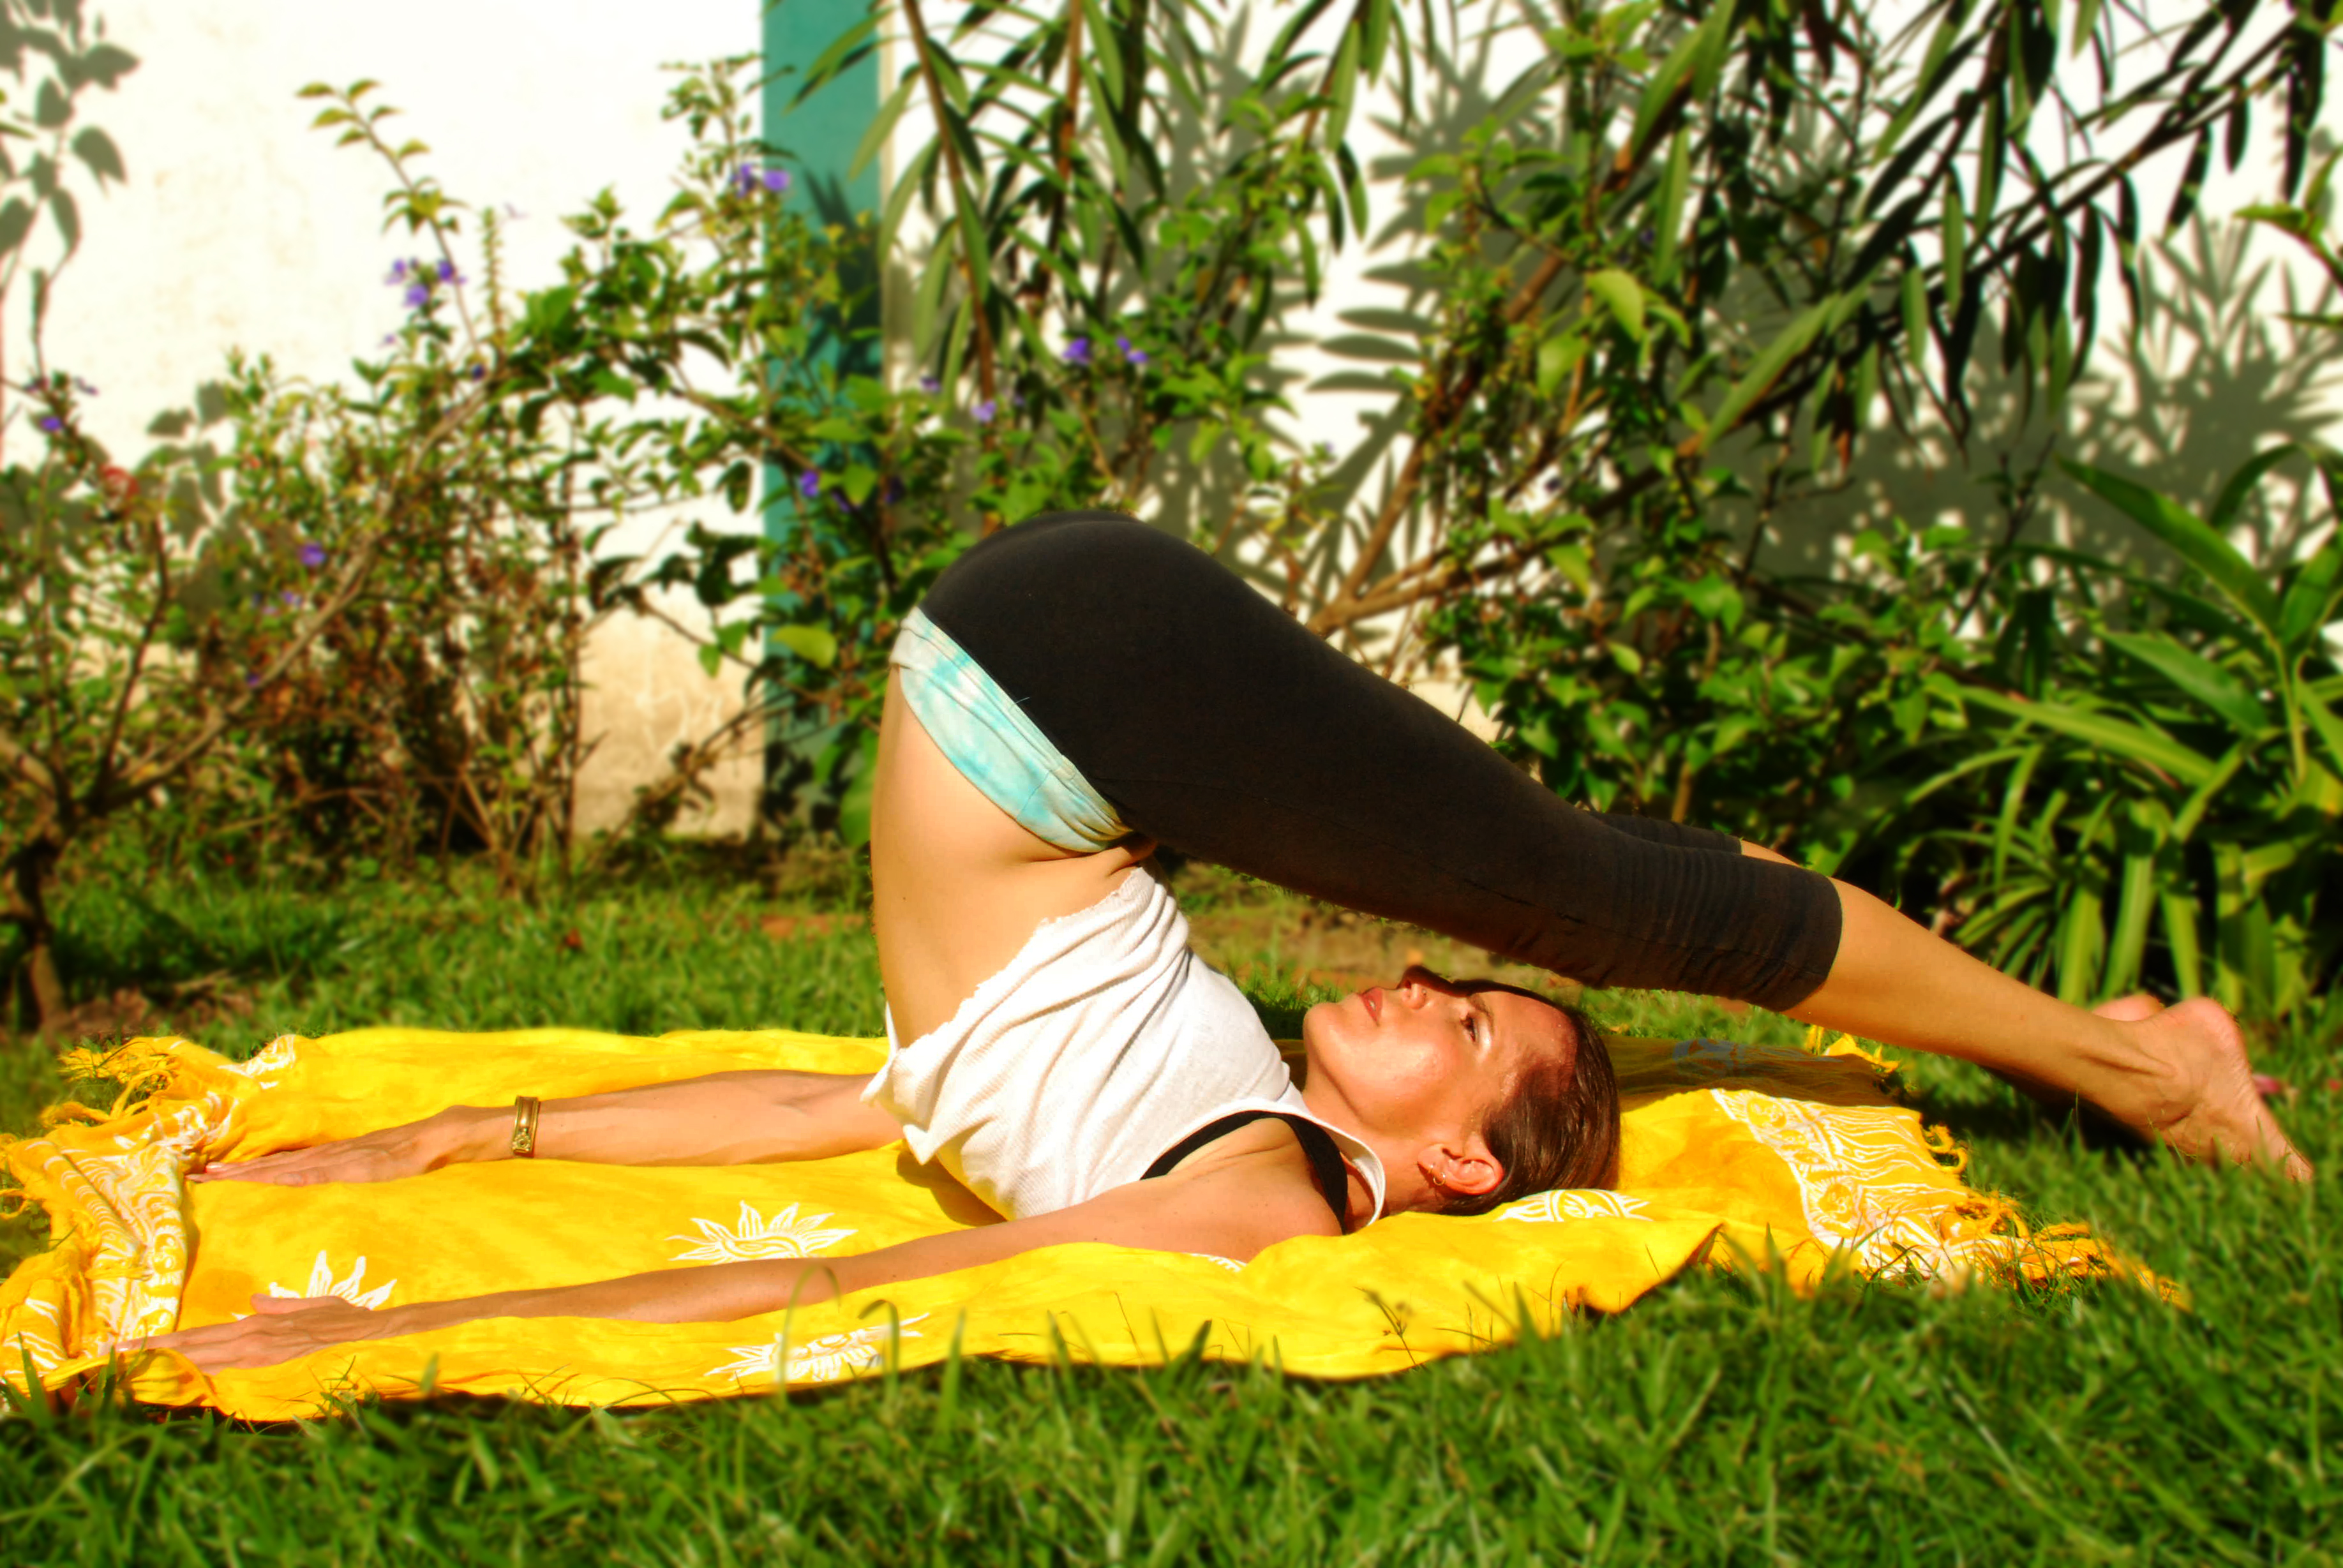
Benefits: Hewitt says this about the benefits of Plough: “The Plough Posture keeps the entire body supple and youthful, and stretches the whole body. It slims the abdomen, hips and legs. It activates circulation, nourishing the roots of the spinal nerves, the facial tissues and the scalp. It aids digestions and bowel action. It is held to be excellent for the endocrine glands, the liver, the spleen, and the reproductive organs, and to correct menstrual disorders.” Now, I ask you, can your barbell do all that?!!? Plough compresses the thyroid gland, which is found in the throat and in conjunction with fish, which expands it, is reported to be very good for regulating the thyroid, which regulates your metabolism and promotes a healthy weight. Happiness!
Instructions: What I love about plough is that most of my students, even the most beginner, can get it after a few tries. It looks hard, but with support and some assistance, many can achieve it and reap the benefits. Draw your knees into your chest, then use your abs to start to lift your legs over your face. Prop your elbows on the floor and support your self in your own hands. An instructor can help bring you over if need be. Your feet may or may not touch the ground.
English name: Shoulder stand
Sanskrit name: Sarvangasasana
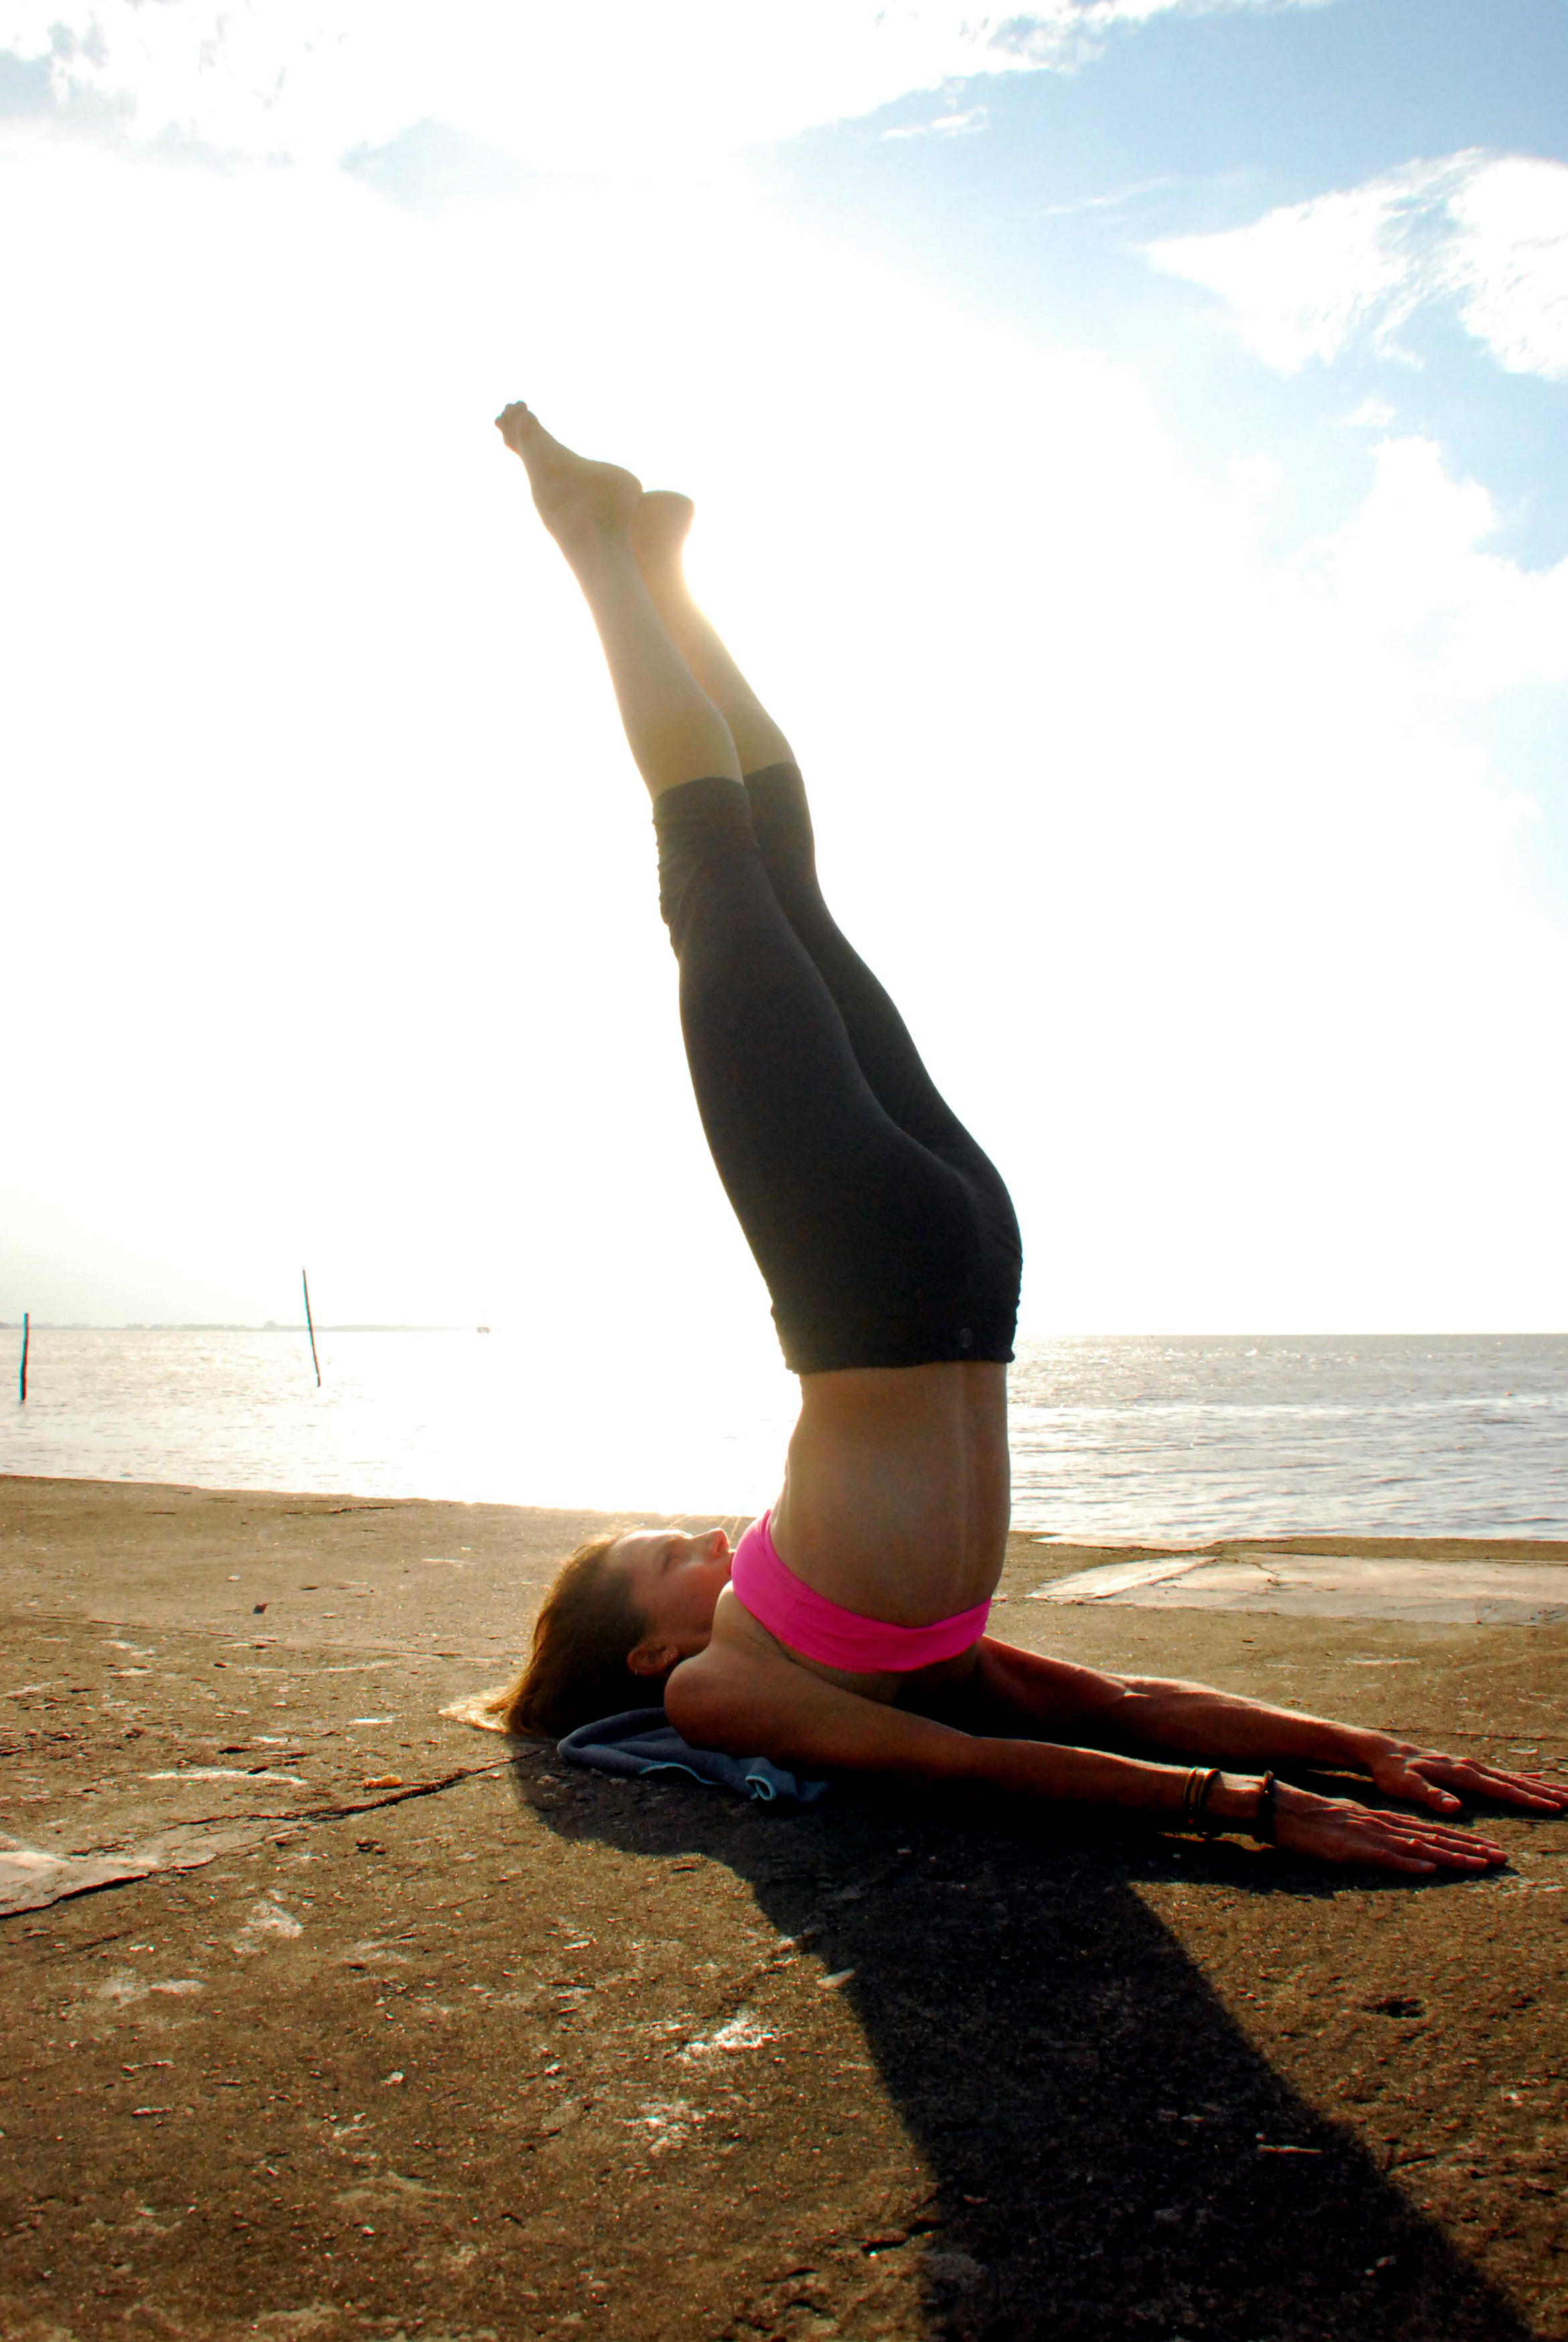
Benefits: This may beat Warrior II as my ultimate favorite posture. Once one is able to do plough, one may work towards shoulder stand, however, that is not to say that plough should be left behind. It is always best to do BOTH. Even more so than Halasana, the shoulder stand facilitates blood flow to the heart and head, filling the scalp and face with blood. This is an energizing posture and is great to do if a mid-afternoon slump is making you drowsy or if you are suffering a mental block. This can clear your head. Looking back to Mr Hewitt, he has this to say: “Blood also flows to the neck with a beneficial effect on the thyroid and parathyroid glands. The nervous system is calmed. The spine is strengthened, and the whole body toned. Sarvangasasana relieves congestion in the legs, pelvis and abdomen, and prevents and relieves varicose veins, asthma, insomnia, constipation,
prolapsus, menstrual disorders, and menopause disturbances. It is said to increase sexual fitness in both men and women. It stimulates the endocrine glands and invigorates the whole body in a harmonious way.”
Instructions: The most simple way to execute this pose is from plough, place your hands in the small of your back for support and extend your legs straight up. Removing your supporting hands challenges and tones your core further.
English Name: Headstand
Sanskrit name: Sirasana
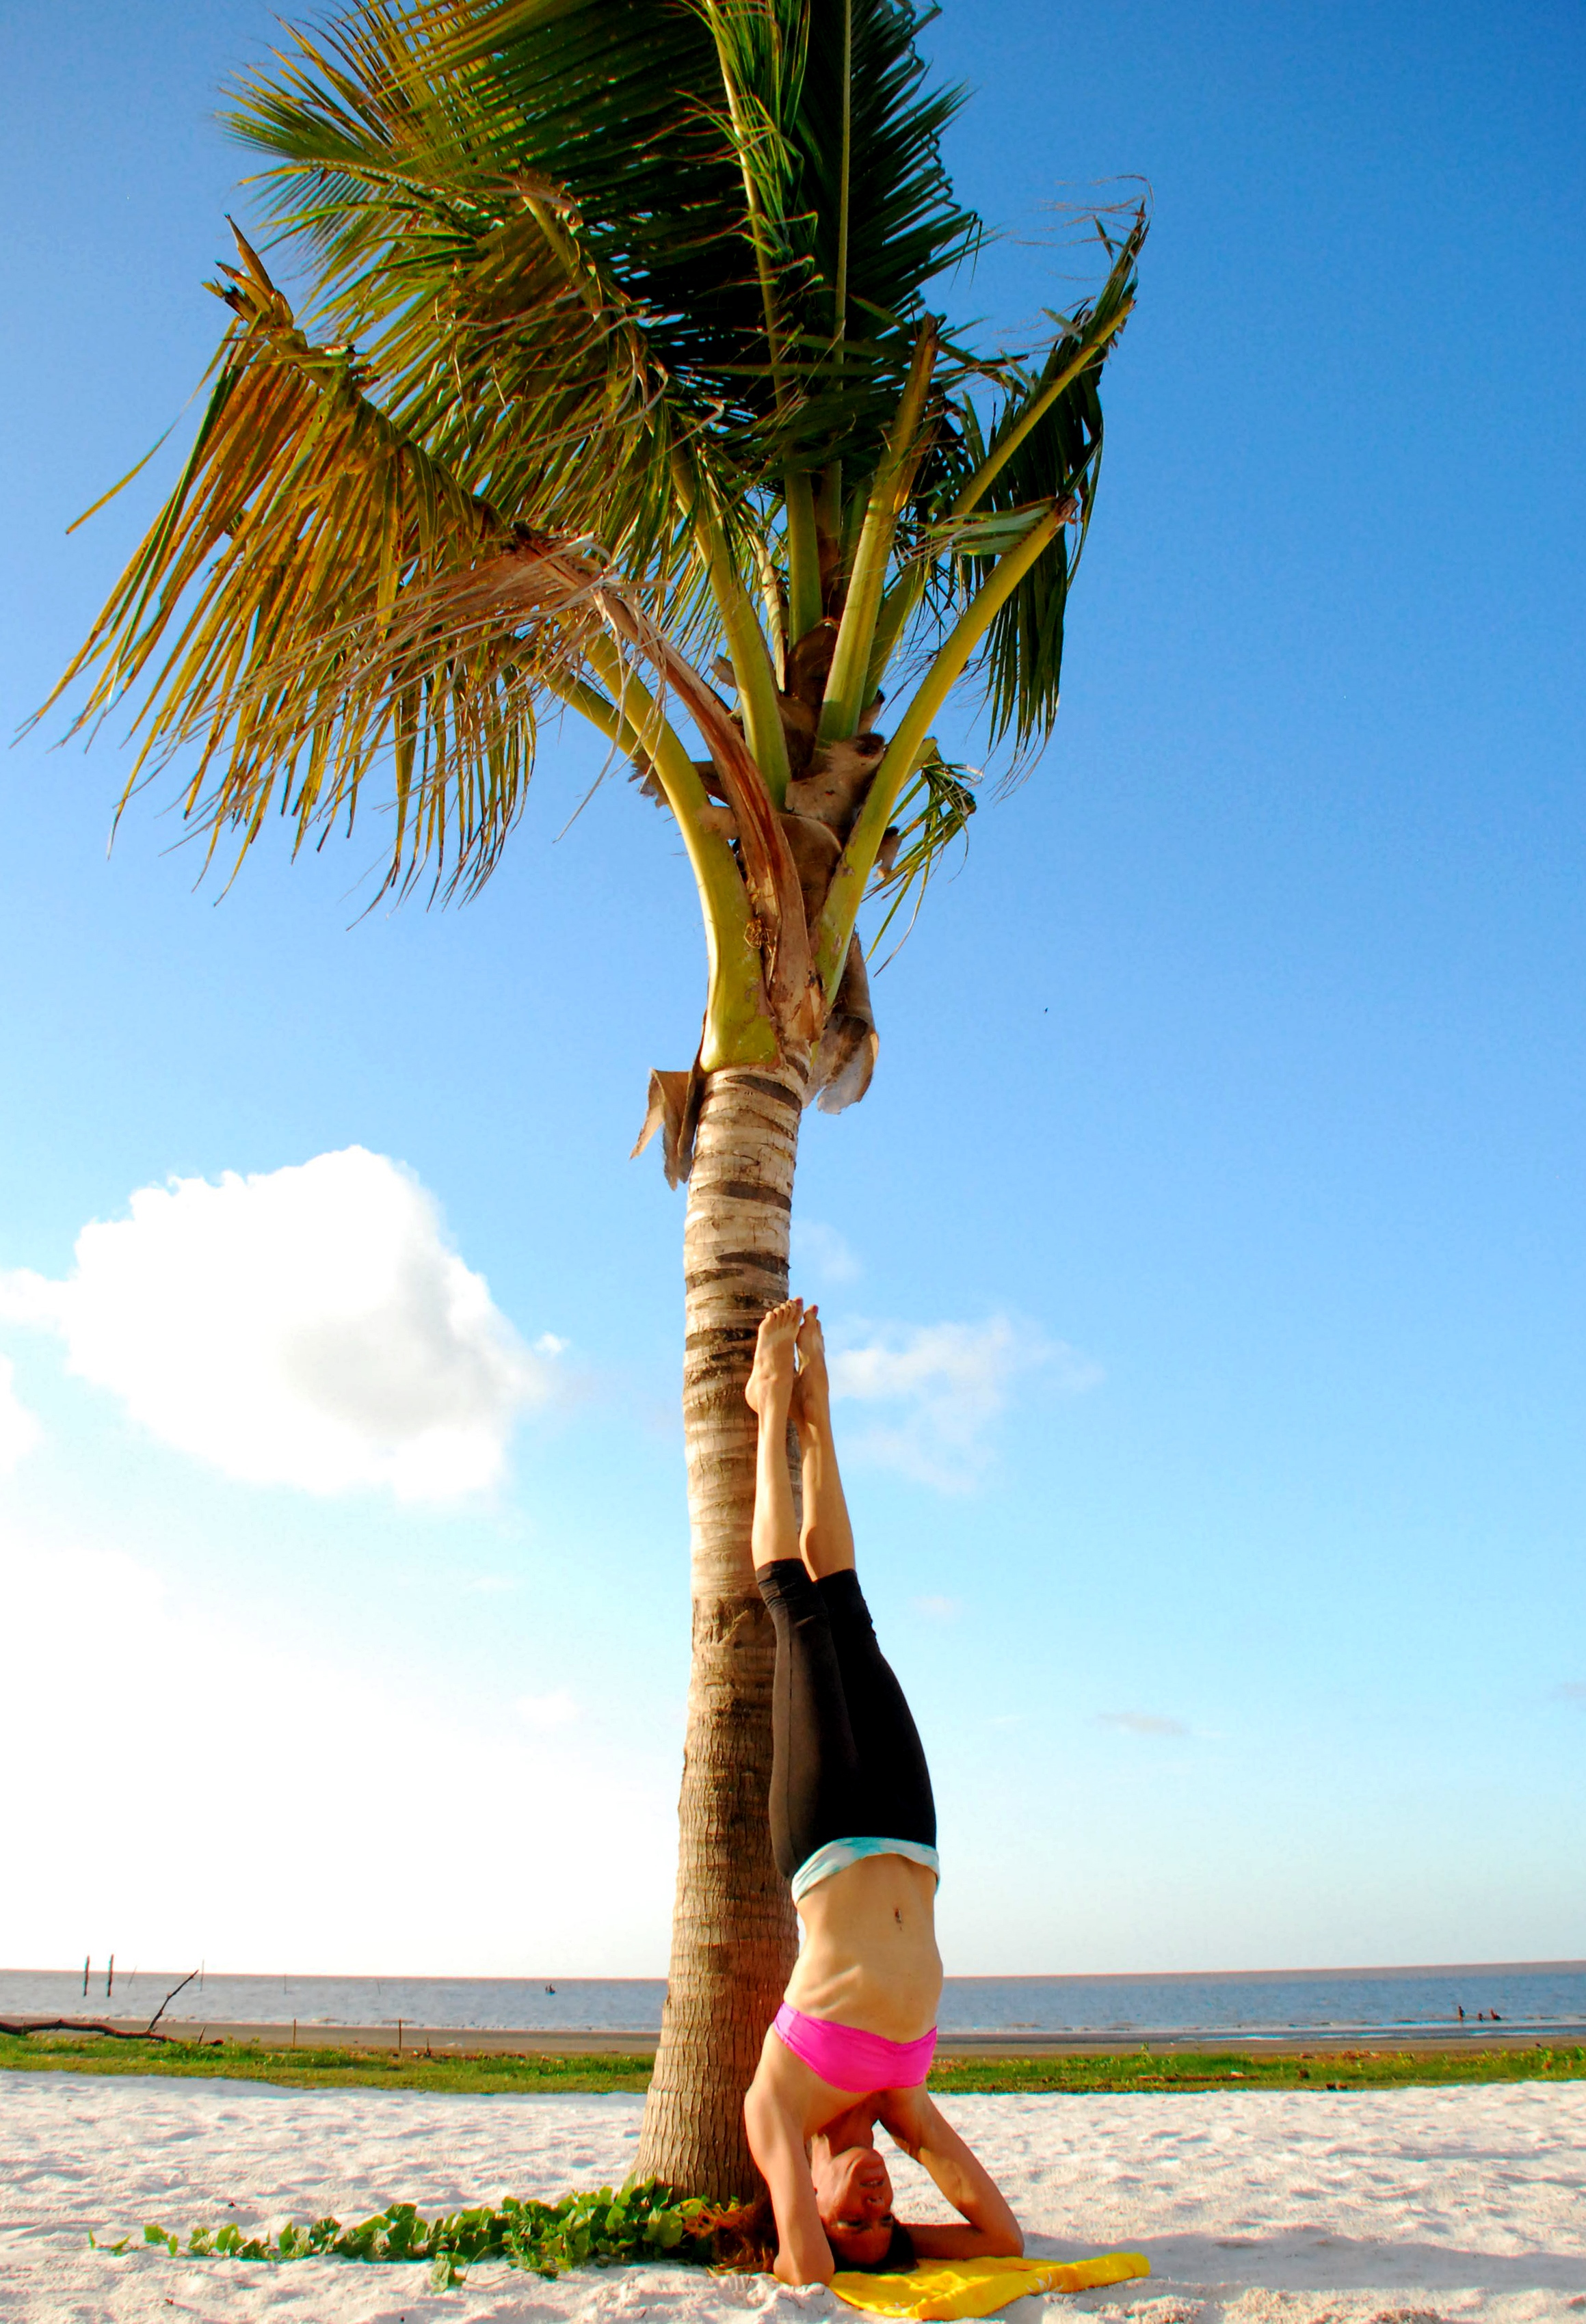

Benefits: Taking the inversions to the next level is the head stand. This is an advanced move, so it is not to be tried until you have developed your practice. It may be practiced against a wall as well. It should only be maintained for a short time and that time should be built up slowly with a maximum of five minutes according to most sources. (Plough and shoulder stand may be safely held for as long as you are comfortable.) The benefits of the headstand are the same as above, but you are increasing your vertical angle slightly. You are also required to focus even more to maintain your balance.
Instructions: This is best learned using support at first. The hands may be placed flat on the ground forming a triangle with your head, or you may use your forearms as I am demonstrating. Once you have created a firm base, draw your knees in to your chest and slowly raise them up. Focus on a spot that you can see and use your breath! Having someone nearby as you are learning to perform this unsupported may help and prevent injury.
Modification for inversions: If you are unable to execute any of the above inversions comfortably, a modification is to scoot yourself all the way against a wall lying on your back and then stick your legs straight up from your hips and let them lean against the wall. Your body is making a letter ‘L’ shape. This is fairly easy to do and has similar benefits. You may also brace your feet against the wall pressing your hips up and using your hands to support yourself, so you are at an angle from foot to head using the wall as support.
There are, by some reports, over 8,000 yoga asanas. Each one has a particular indication and may have one or more benefits. There are others that may be touted as mood boosters, but for me, to narrow it down, I choose the sun salutation series, the warriors, balancing and the inversions as my best mood boosters. Incorporate these postures along with the breathing I mentioned in the earlier post, and I’ll bet you can’t help but to smile!

Read more about developing your yoga practice in an updated post.

