
I previously posted a homemade granola and yogurt recipe, but I have improved upon both recipes. This is the yogurt recipe and the granola is in a separate post.
First of all, I only just realized I could make yogurt dairy-free. Technically, I am a vegetarian, not a vegan. I do not eschew all dairy and I eat pasture-raised eggs, however I do not drink milk. I love yogurt and there are soooo many benefits to it, so I have continued to eat yogurt, but I would like to cut my dairy and reduce my plastic use. I used to make yogurt when I could get fresh, local, organic milk in returnable bottles. That is not an option where I live now, so I have been buying local yogurt, but I have no reason to believe it is organic, and it comes in plastic bottles, so I really wanted an alternative.
I really didn’t realize that you can make yogurt from other non-dairy milks! Apparently, you can use any milk substitute. You just add either vegan yogurt starter, which is what I did for the first batch, or pro-biotic tablets to any warm “milk” and then put it in jars in a warm place to let the magic happen. As with any yogurt, you can also use yogurt as your starter.
I live in a place where I can get fresh coconuts, so this recipe is actually for coconut yogurt made with freshly made coconut milk. You can also just use store bought coconut milk, which will likely make an even thicker and creamier product. Coconut milk is inherently high in fat, in fact, saturated fat, so be aware of this. I am not focused on weight loss, and I just eat a small portion. My goal is natural, unprocessed food with low waste and overall health benefits as part of a balanced vegetarian…almost vegan…diet.
Ingredients
Coconut milk
Yogurt, yogurt starter or probiotic capsules
Optional:
Fresh nutmeg
Vanilla extract
Agave syrup (or other sugar)
Fresh Coconut Milk
I do this differently than most recipes I see, which say to take dried coconut, add water and then squeeze out the milk. I want ALL of the benefits of the coconut and I have a fantastic blender, which is key for this recipe. I have a Ninja, but they do not pay me to promote this. I would imagine Nutribullet, Vitamix or any other powerful blender would work.
I can buy fresh, green coconuts off the street here for about $1 each. Some have more water and less flesh. The more mature ones have less water and more coconut. I will often buy 6-8 at a time and end up with a big jug of water and some coconut of varying ripeness.


- Pour off the water from the coconuts and set aside. Remove all the flesh. (I get the vendor to do this for me with his machete.) I fill a jug with water and a zip lock with the coconut.

I had eight coconuts, and you can see six full, more ripe ones and two where it was just jelly, which is delicious on its own!!
- Put the coconut with enough water to help the process into a food processor or a strong blender. If the coconuts are firmer, I do it once in the blender and then pour that into the smoothie maker to get it as smooth as possible. If they are less ripe and more soft, I just use the smoothie maker.

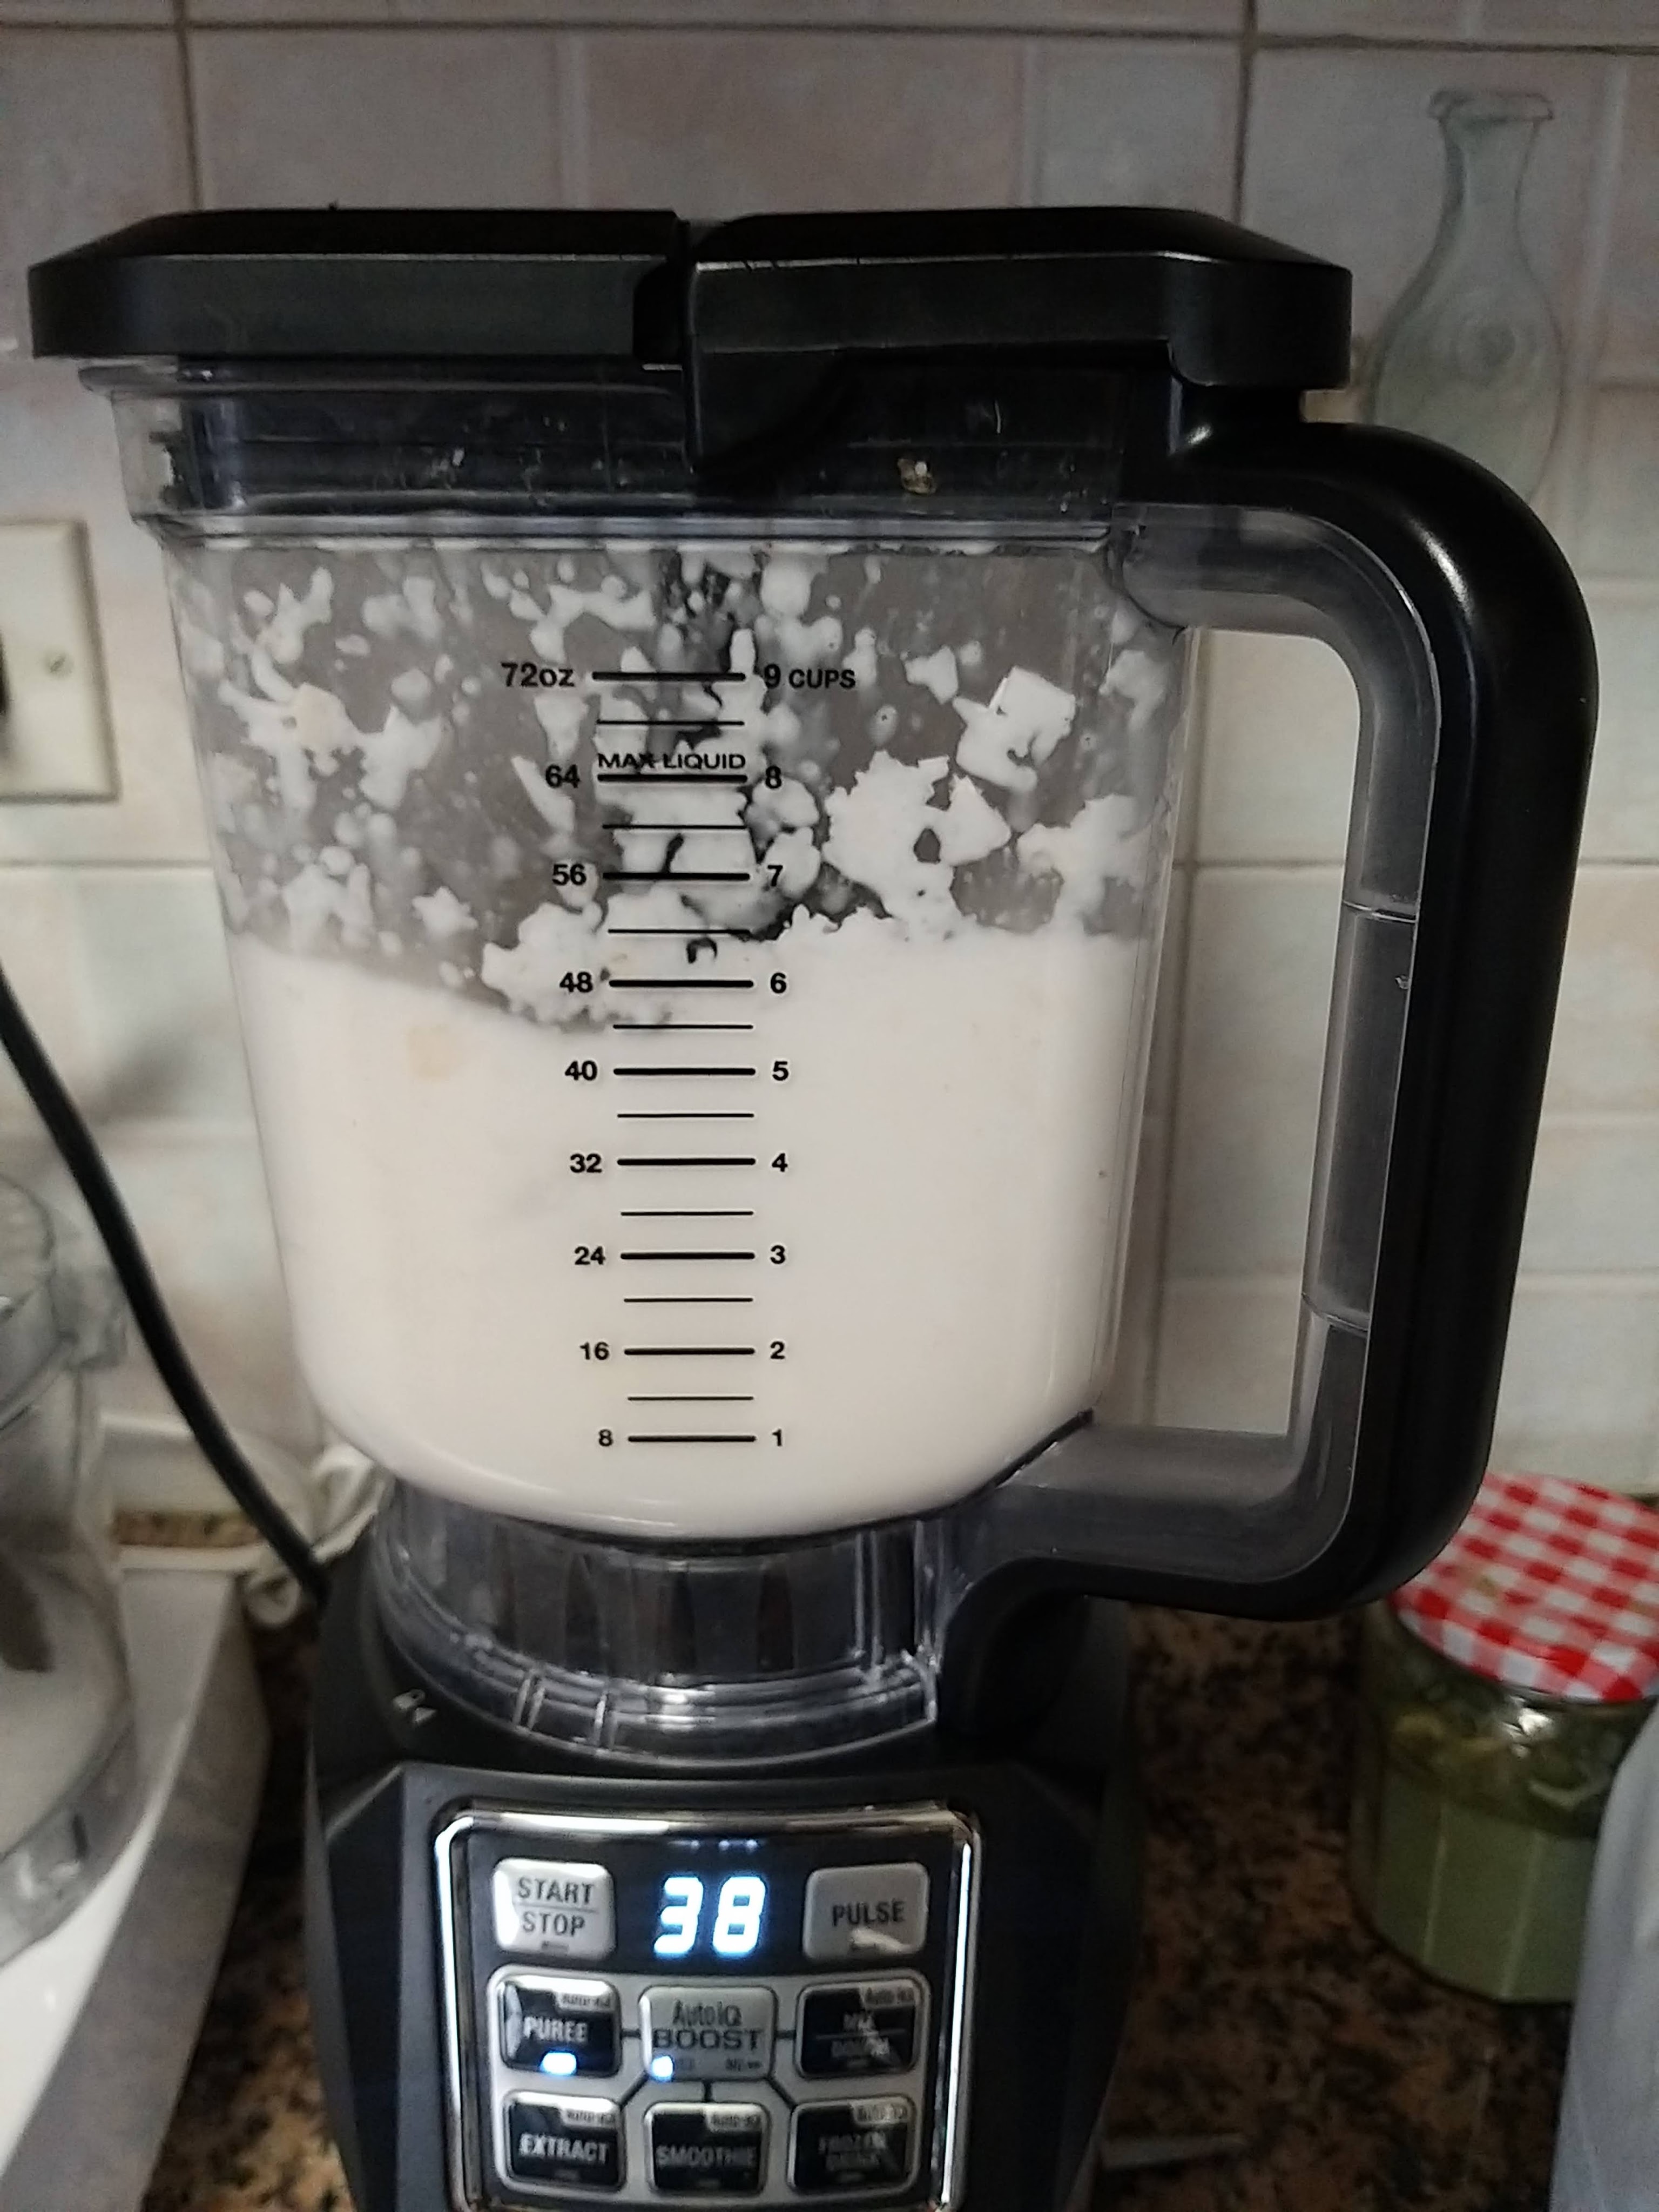
I just add water as needed, so that it will blend. You can add coconut water or plain water, but note that coconut yogurt doesn’t thicken that much, so don’t thin it out too much here. I do mine to about the texture of heavy cream, rather than milk. Personally, I like to drink the coconut water, so I add mostly plain water and keep the coconut water for drinking, but coconut water would make it even more healthy and flavorful!


- Tips for getting creamier milk.
- Use greener coconuts with softer flesh. When it is jiggly, it blends to a very luxurious , creamy texture. This is the ideal! No straining needed.
- You may want to strain the blended “milk” through a sieve to get any bits of shell that might have gotten in (you can hear your blender fighting with these) and to strain out the more mature coconut that did not get blended. You can save this, dry it out and use in your granola or any recipe calling for desiccated coconut.
- If you have the mature coconuts you get in the store with less water and hard coconut, you can try freezing the coconut (once it’s out of the shell) completely and then defrost it completely. It softens a bit and results in a creamier blend. If that doesn’t work, you may need to grate the coconut, soak it in water and ring it out to get the milk. The left over coconut can be dried out and used in other recipes. You could also grate it, and put that with water in the blender and not strain it to have a bit of texture if you are okay with it not being totally smooth, which I think is great.
Personally, I leave it as is and my yogurt just has bits of coconut in it, which doesn’t bother me at all. It is truly up to you!
Coconut Milk Yogurt
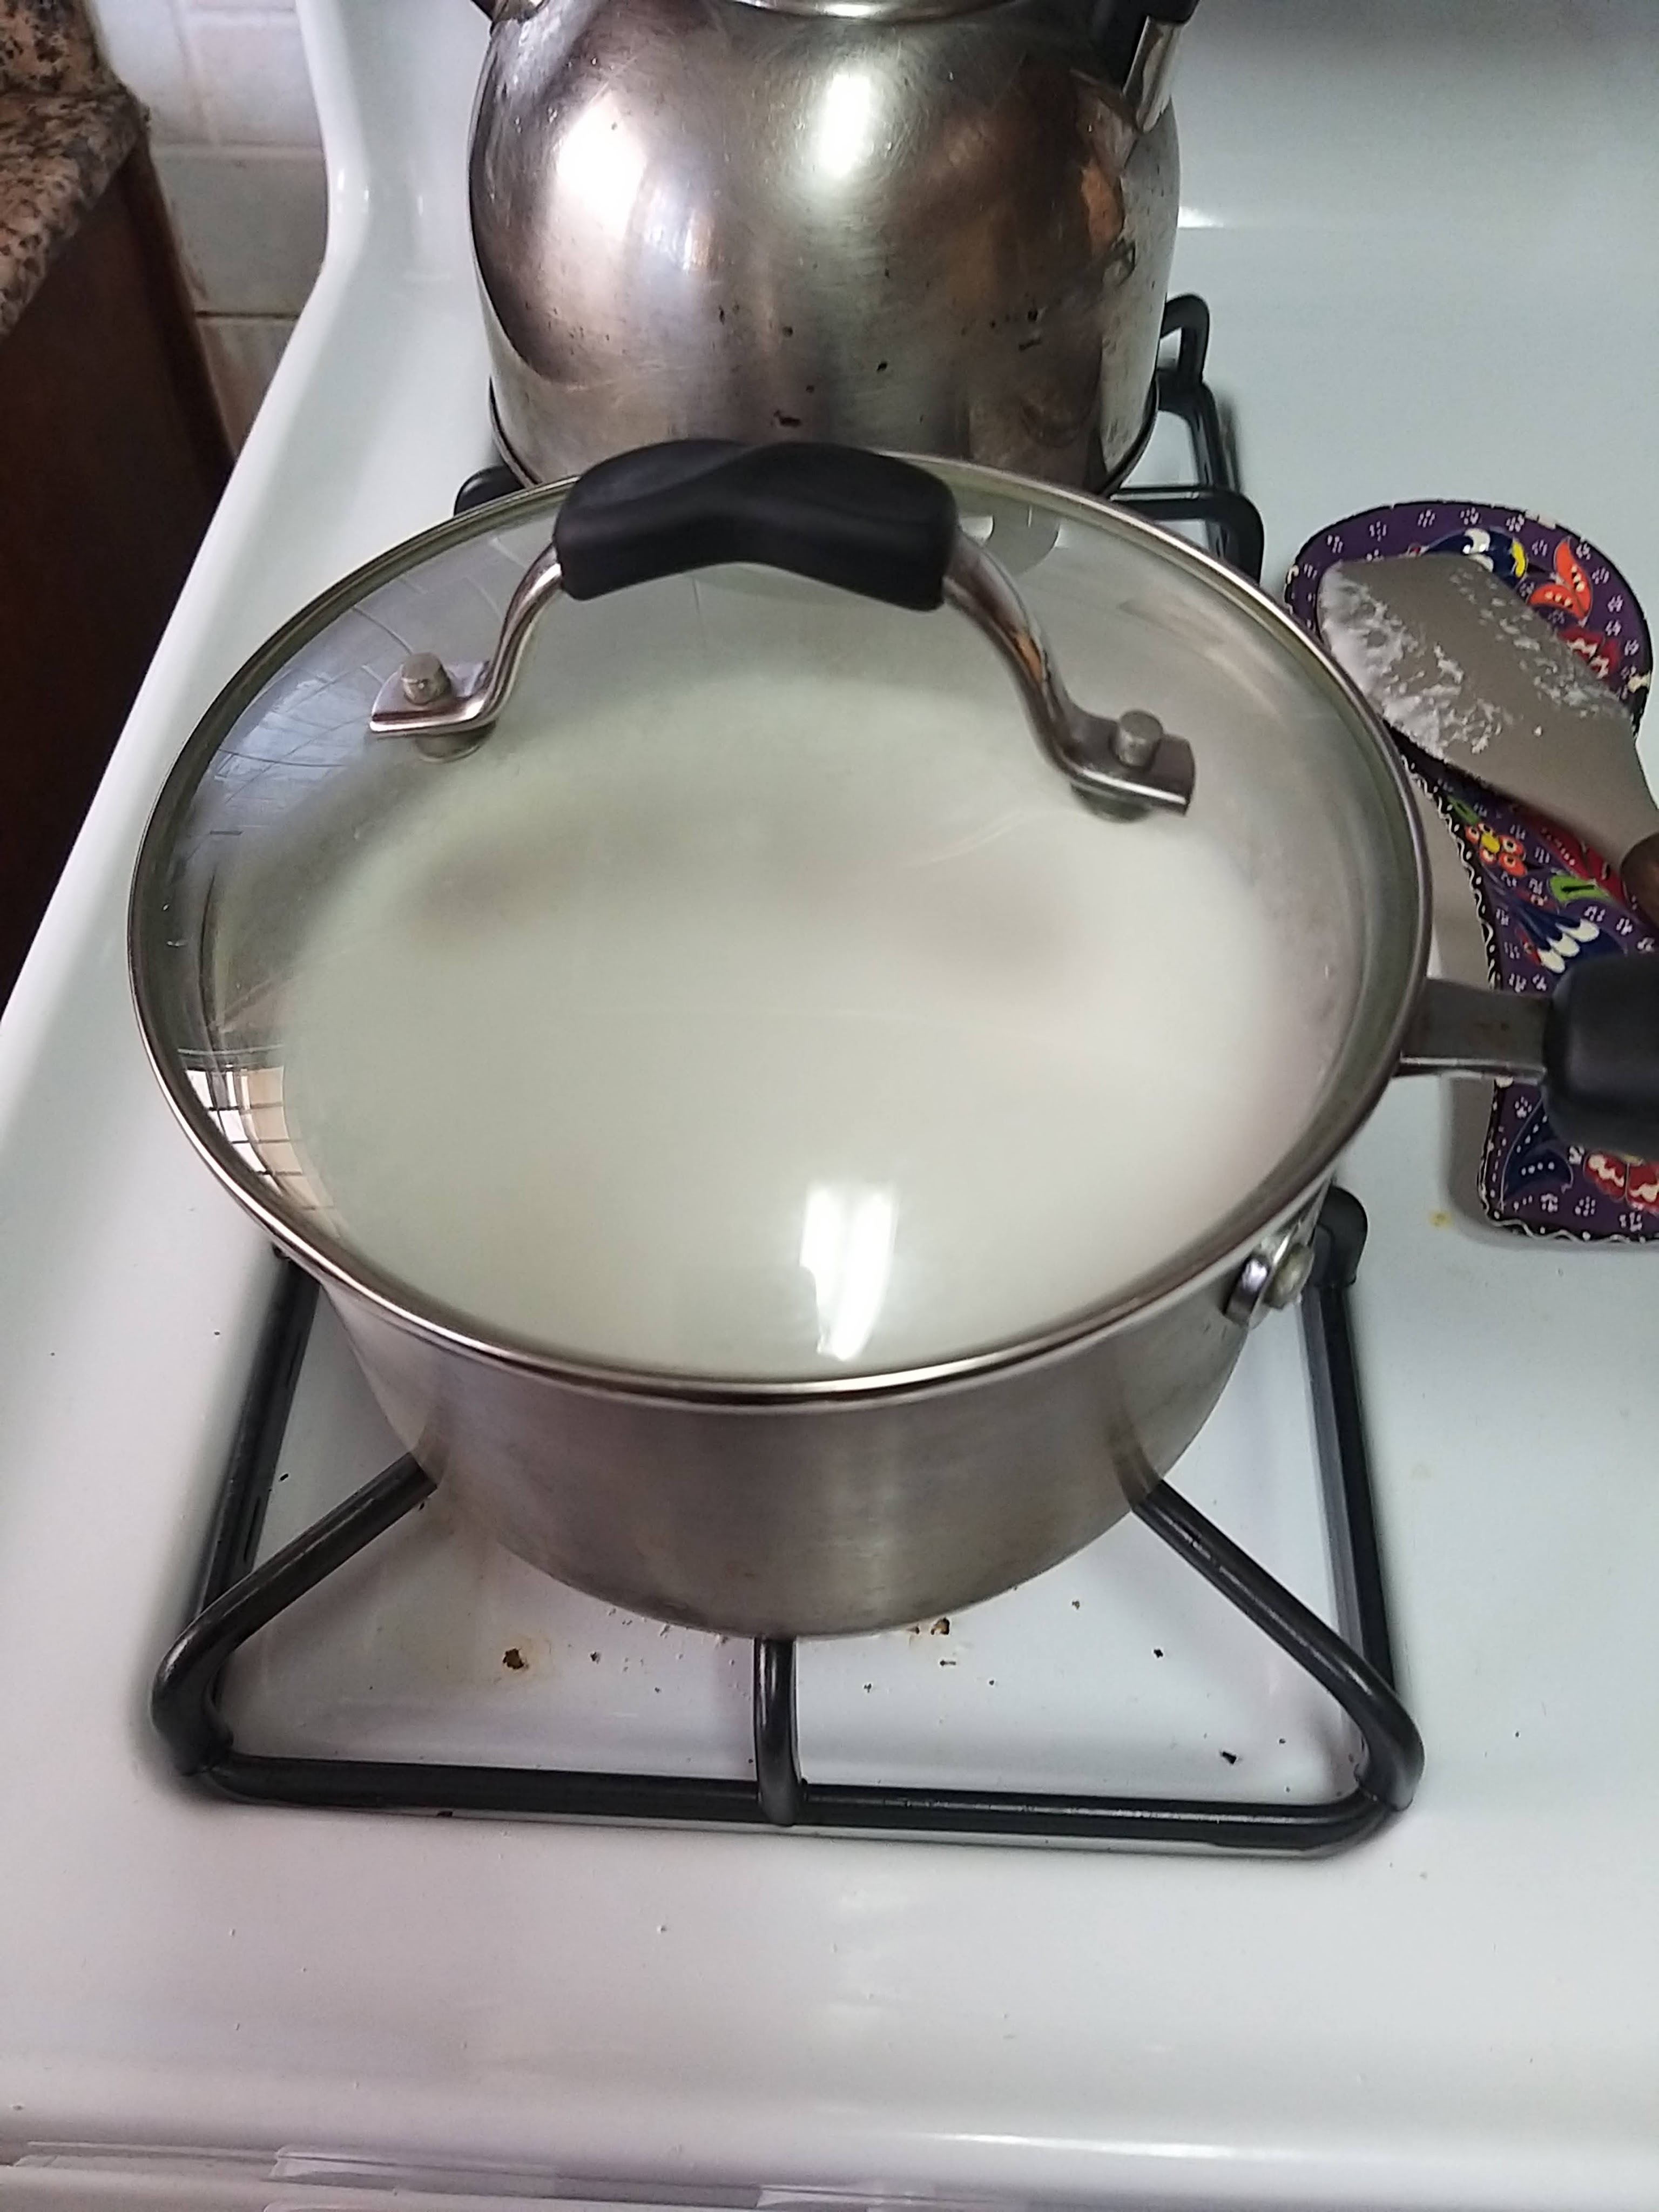
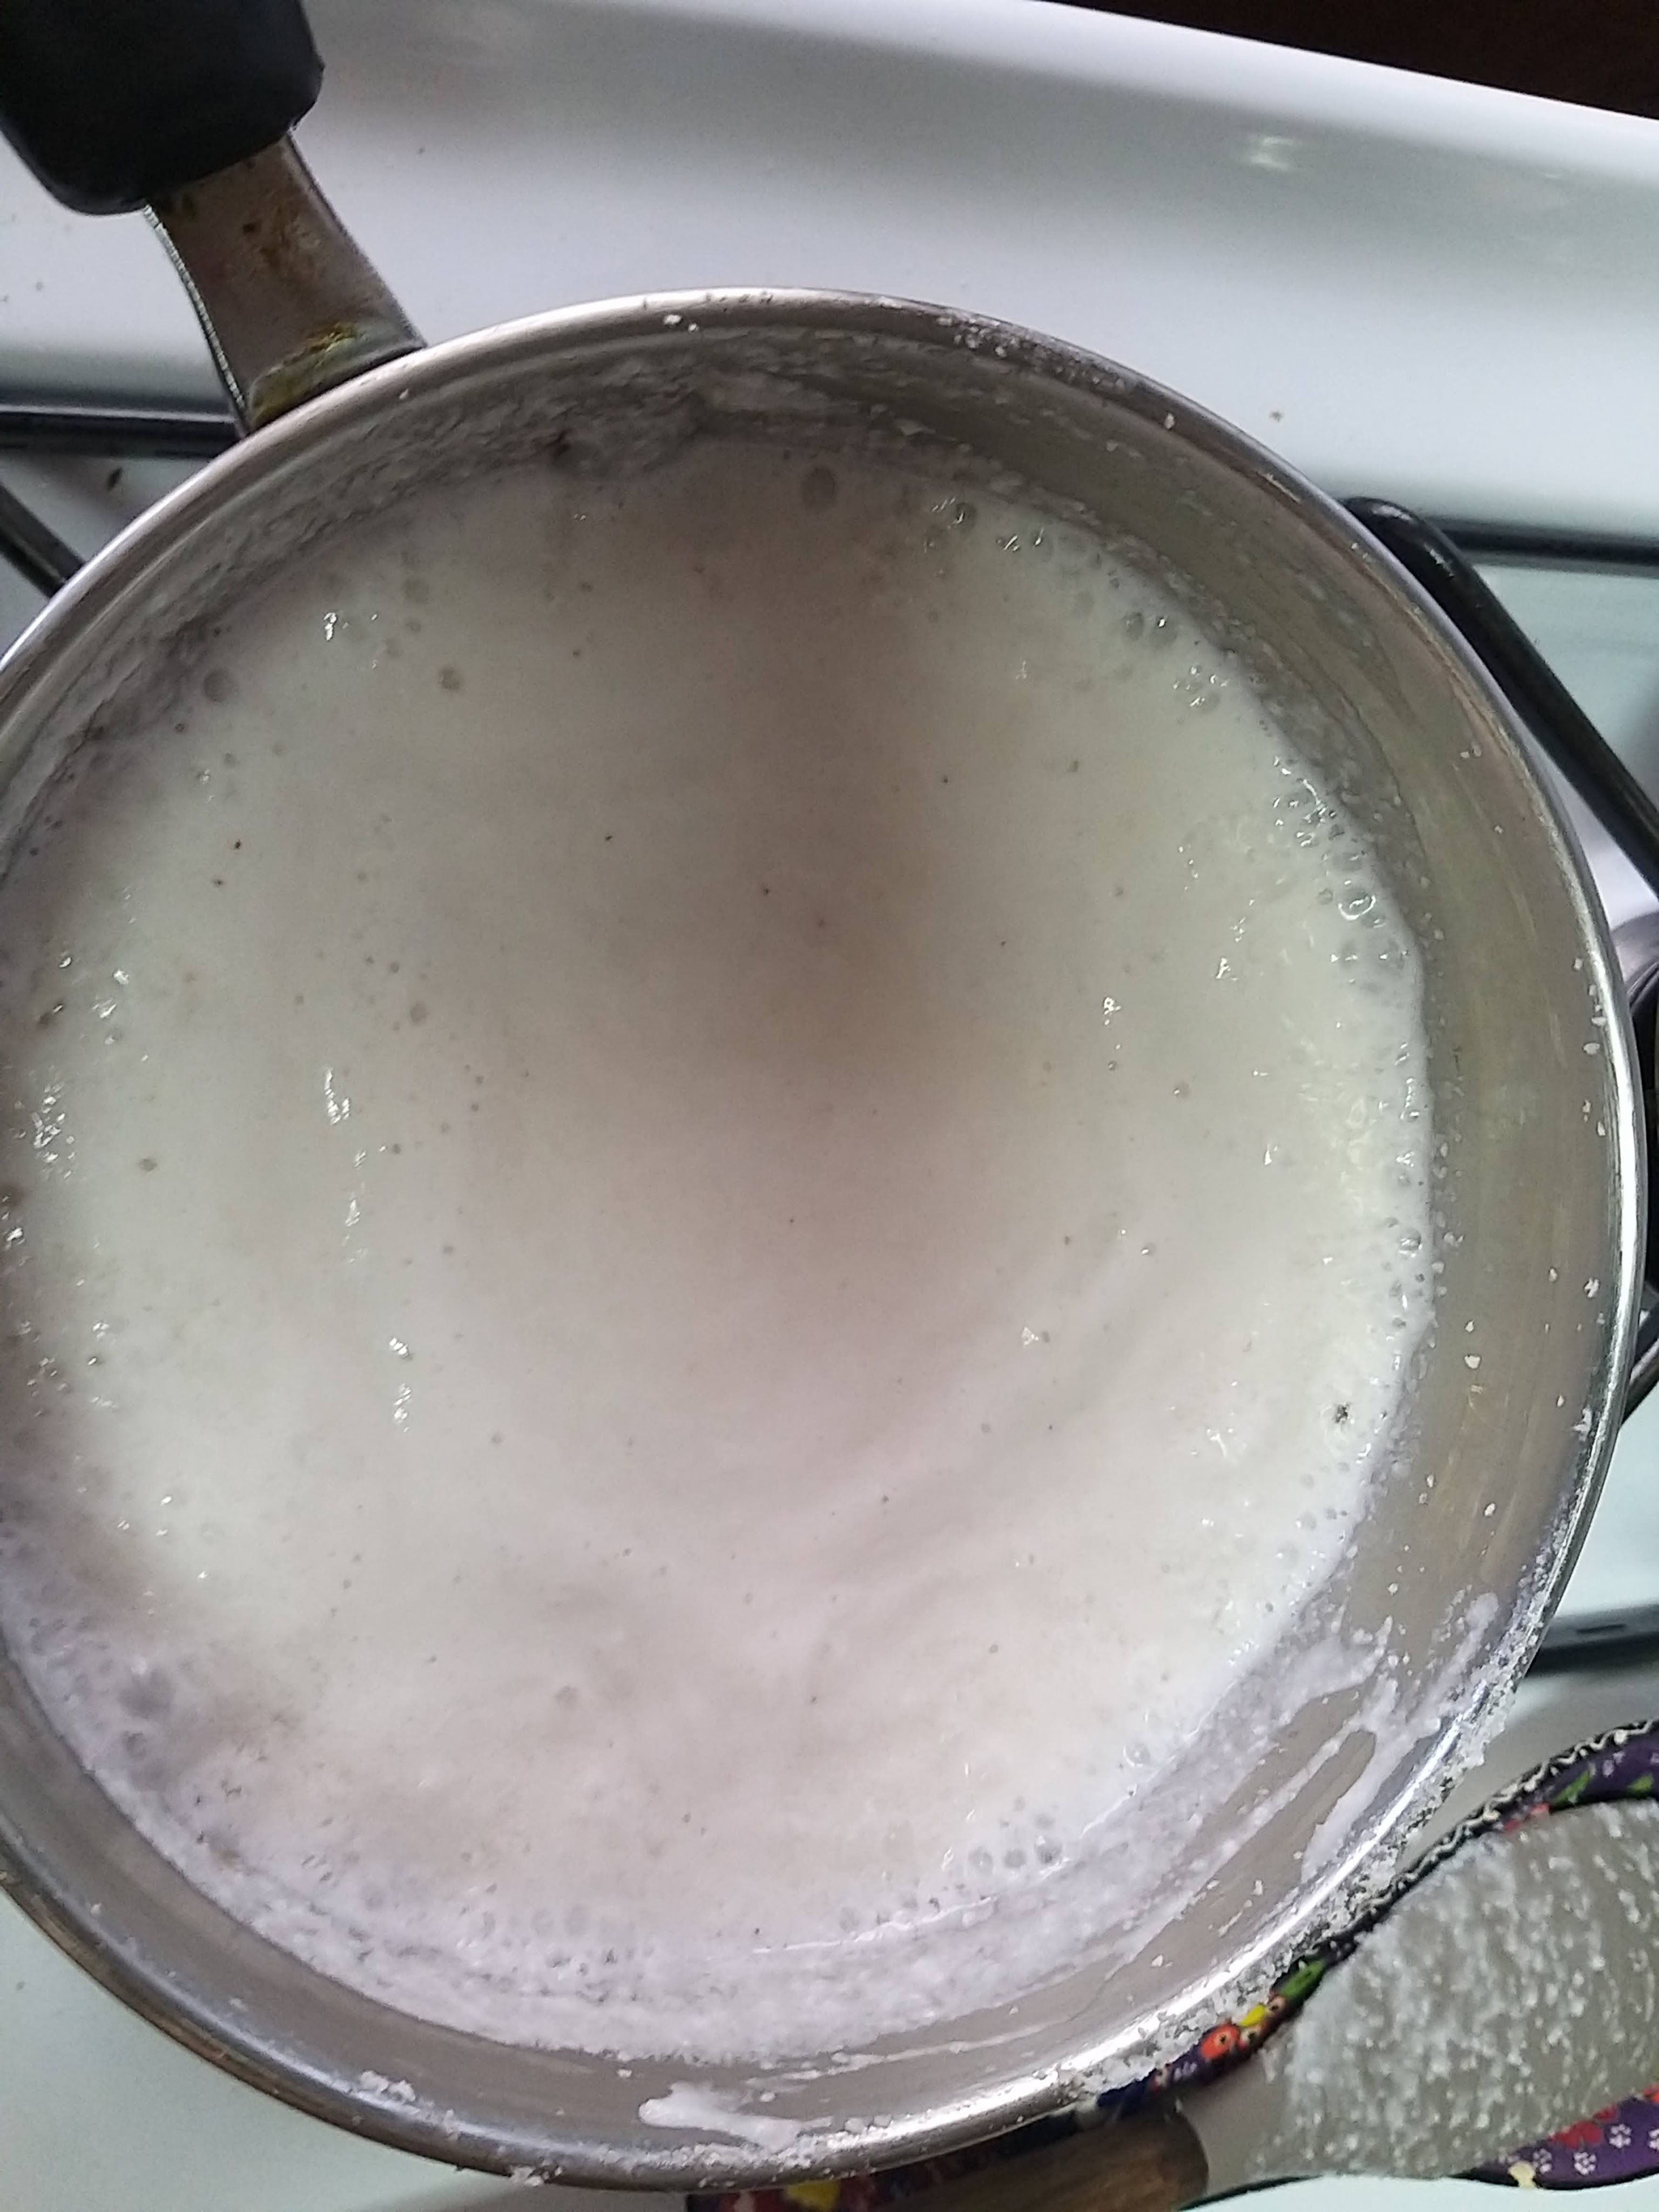
- Heat the coconut milk. Recipes I saw said to 115 degrees Fahrenheit. I don’t have a food thermometer, so I just heat it till it is very warm, but not too hot for me to dip my finger in. Super precise, I know, but it works for me. I don’t actually bring it to a boil, but if you are worried about bacteria, you can. Just be careful not to burn it and be sure to cool it down to no more than 115 degrees or you will kill your culture.
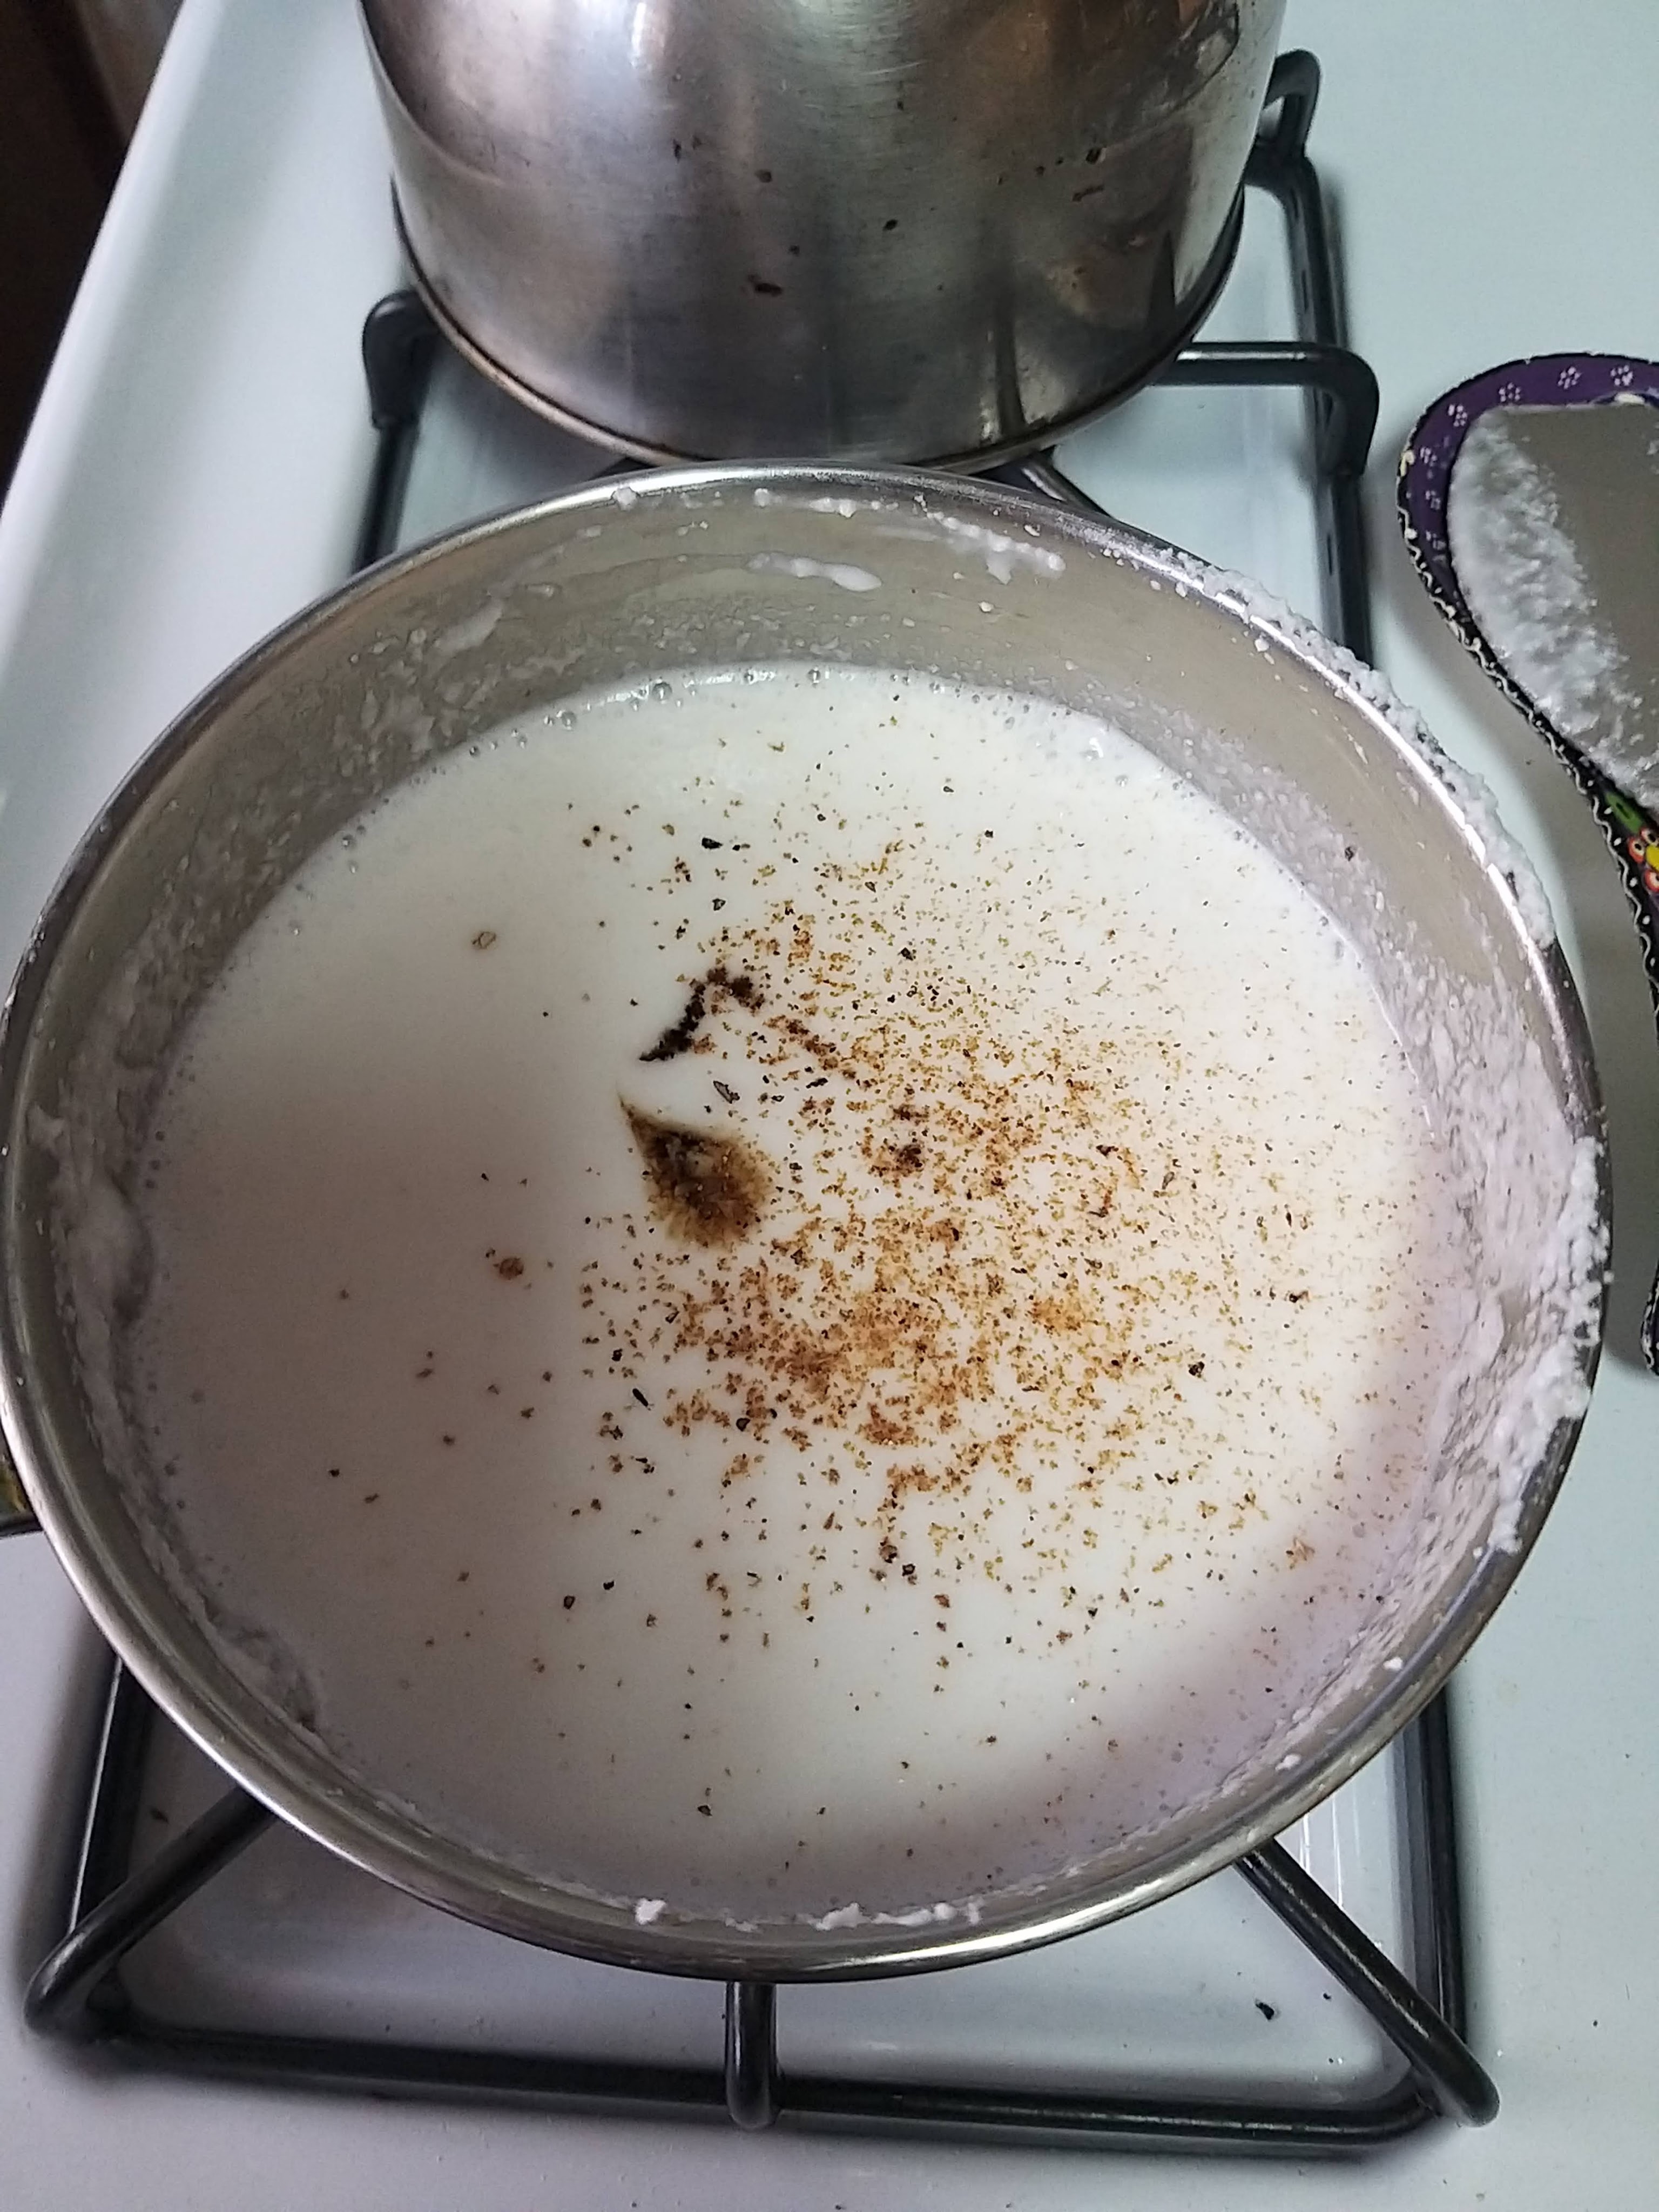
- Add optional vanilla extract, a bit of fresh nutmeg and about 1 T of agave syrup here for flavor and to give the culture some sugar to eat since there is no lactose in this dairy-free version.
- Then you stir in your starter. The one I use says that one packet will work for two quarts. You can also use yogurt (any kind) from a previous batch or store bought. Apparently, you can also pop open probiotic capsules! I made this the first time with starter, but the next time with 1/4 cup of the previous batch. The one made from the past batch turned out much thicker than the one made from the starter!
- I pour mine into glass jars that I have an abundance of, and for whatever reason, I feel like it work better than plastic from my previous experiences.
- Then put your jar or jars with the lids on in a warm place. You can use your oven on like 100 or a warm room in your house; perhaps near a radiator or on top of your dryer if you have one…just be sure the dryer does not toss them off! If it is not warm enough, it won’t thicken up as much, but it will still ferment. You can also put the jars in a cooler bag or similar to preserve the temperature if your house is too cool.
- Let ferment for 4-8 hours. I read that coconut milk doesn’t take as long to ferment, and that is true. I used to let regular yogurt sit for 12 hours, but after about four hours, my coconut yogurt was tangy. Six hours seemed sufficient to thicken it up. I think max eight hours is all that you would want because it will just keep getting sour, but not likely thicken much more.

- Give the jars a stir or shake and stick them in the fridge. (Chilling it will also thicken it up.) And you’re done! You have all the probiotic benefits of yogurt plus potassium, electrolytes, plant-based fat and more goodness from the coconut.
I realize that this, like a lot of my recipes, is a little vague, but if you are doing the fresh coconut milk thing, I don’t know how much you are going to make. You may have yogurt on hand to use as starter or have easy access to a health food store to buy starter and it will give you the correct measurement amount to use on the package. You can’t mess it up. Maybe it won’t set, but that is not a tragedy. Just go for it!
Top your yogurt with my homemade granola and enjoy!

If you like this, like, follow and share! Follow me on Facebook and Instagram.

